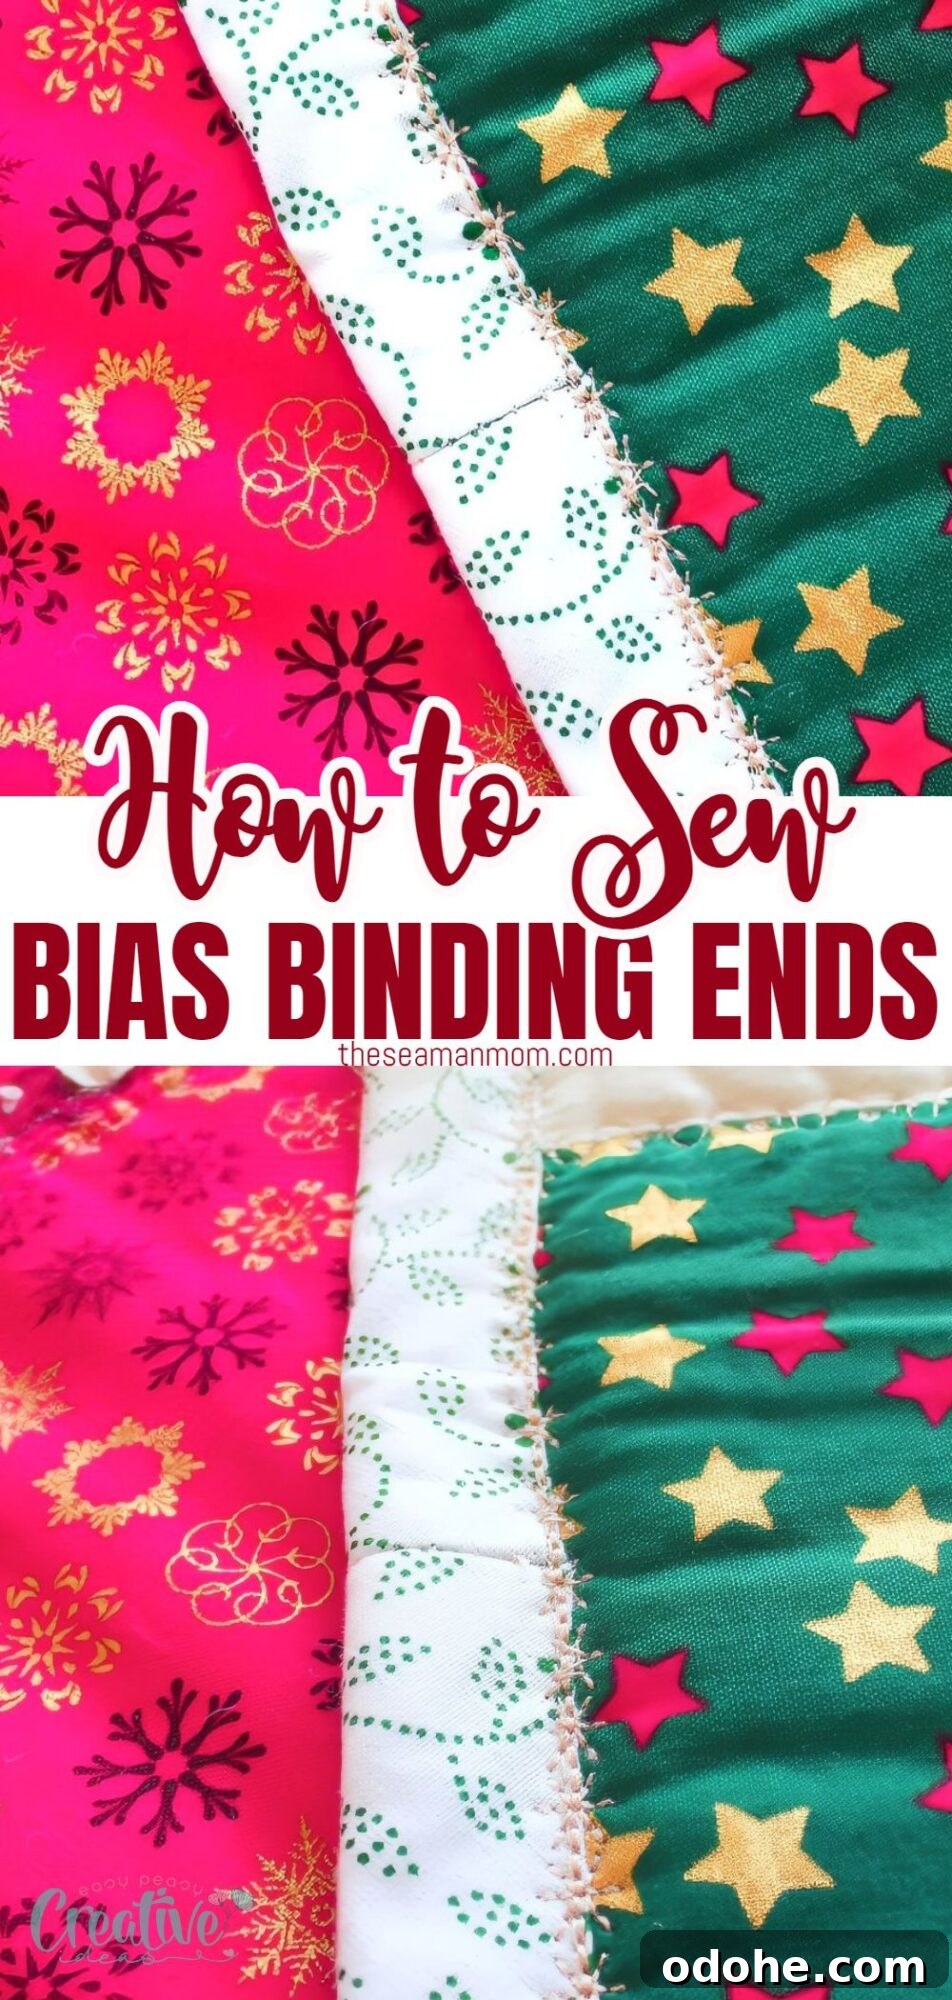
Today we’ll explore a straightforward method for joining bias binding so the seams are neat and nearly invisible. This friendly tutorial walks you through an easy technique—sometimes jokingly called the “lazy method”—that produces clean, professional-looking results on quilts and other projects.
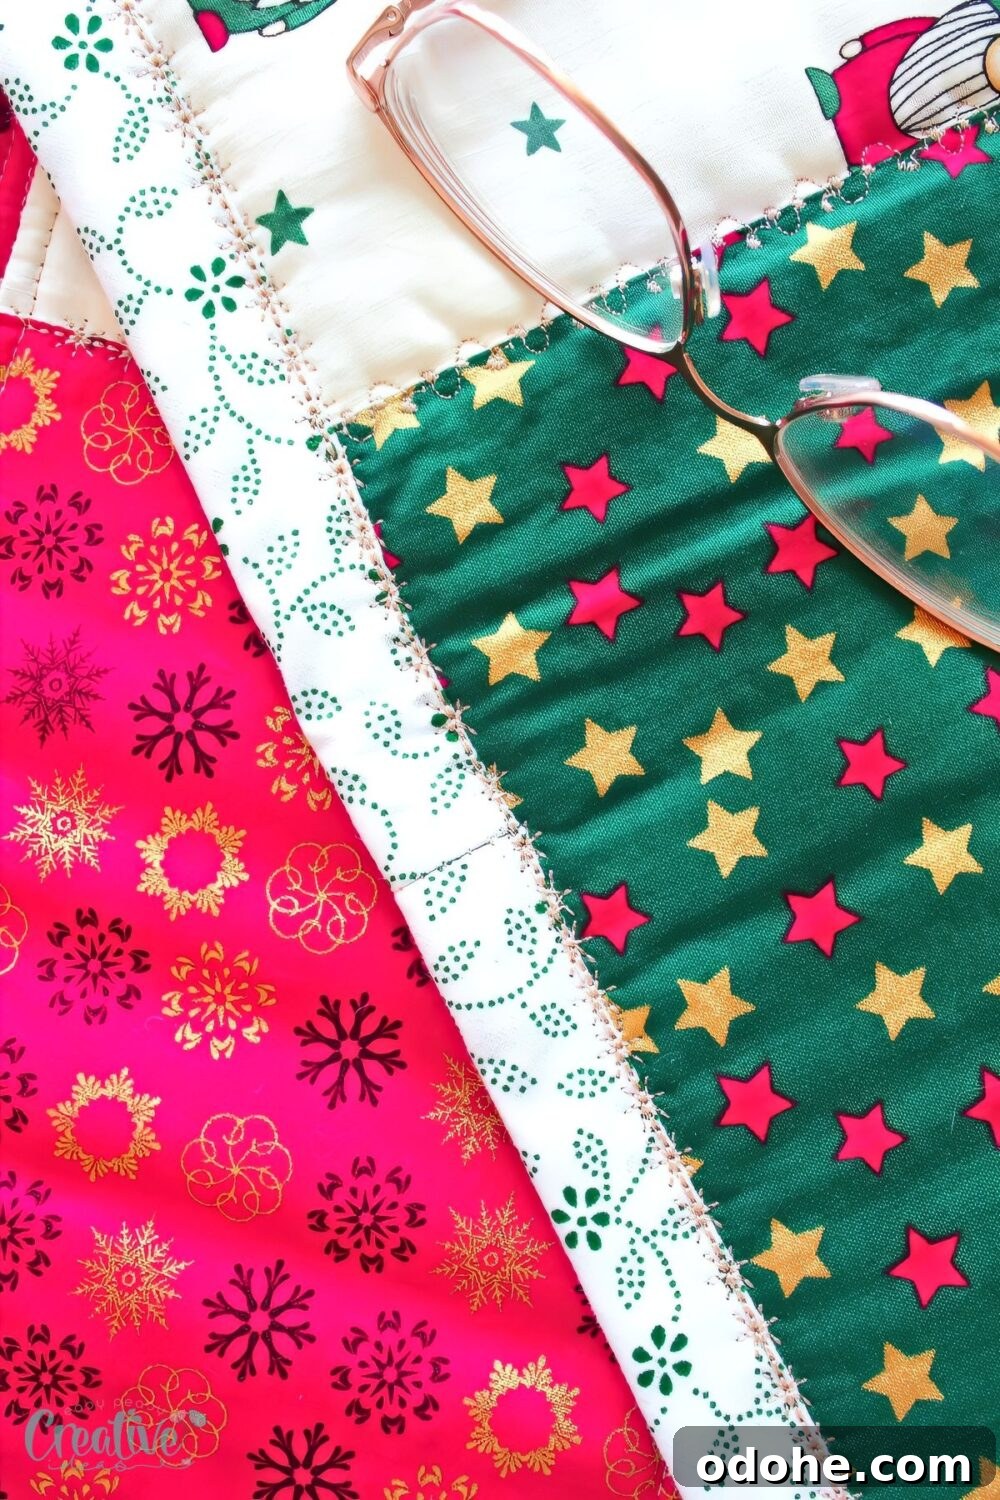
Joining bias binding doesn’t have to be intimidating. With a few simple steps and a little pressing, you can create smooth joins that lie flat and reduce bulk. The technique described here is ideal for beginners and experienced sewists alike and adapts well to many sewing situations.
This is one reliable method to join binding strips. It’s fast, easy to learn, and consistently gives crisp results. If you prefer another approach, there are other joining techniques you can try, but this one is a great place to start.
I appreciate this method because it’s quick, forgiving, and produces a smooth seam with minimal bulk. The ends are folded and pressed in a way that keeps the join tidy, and the final finish looks neat on both the front and back of the project.
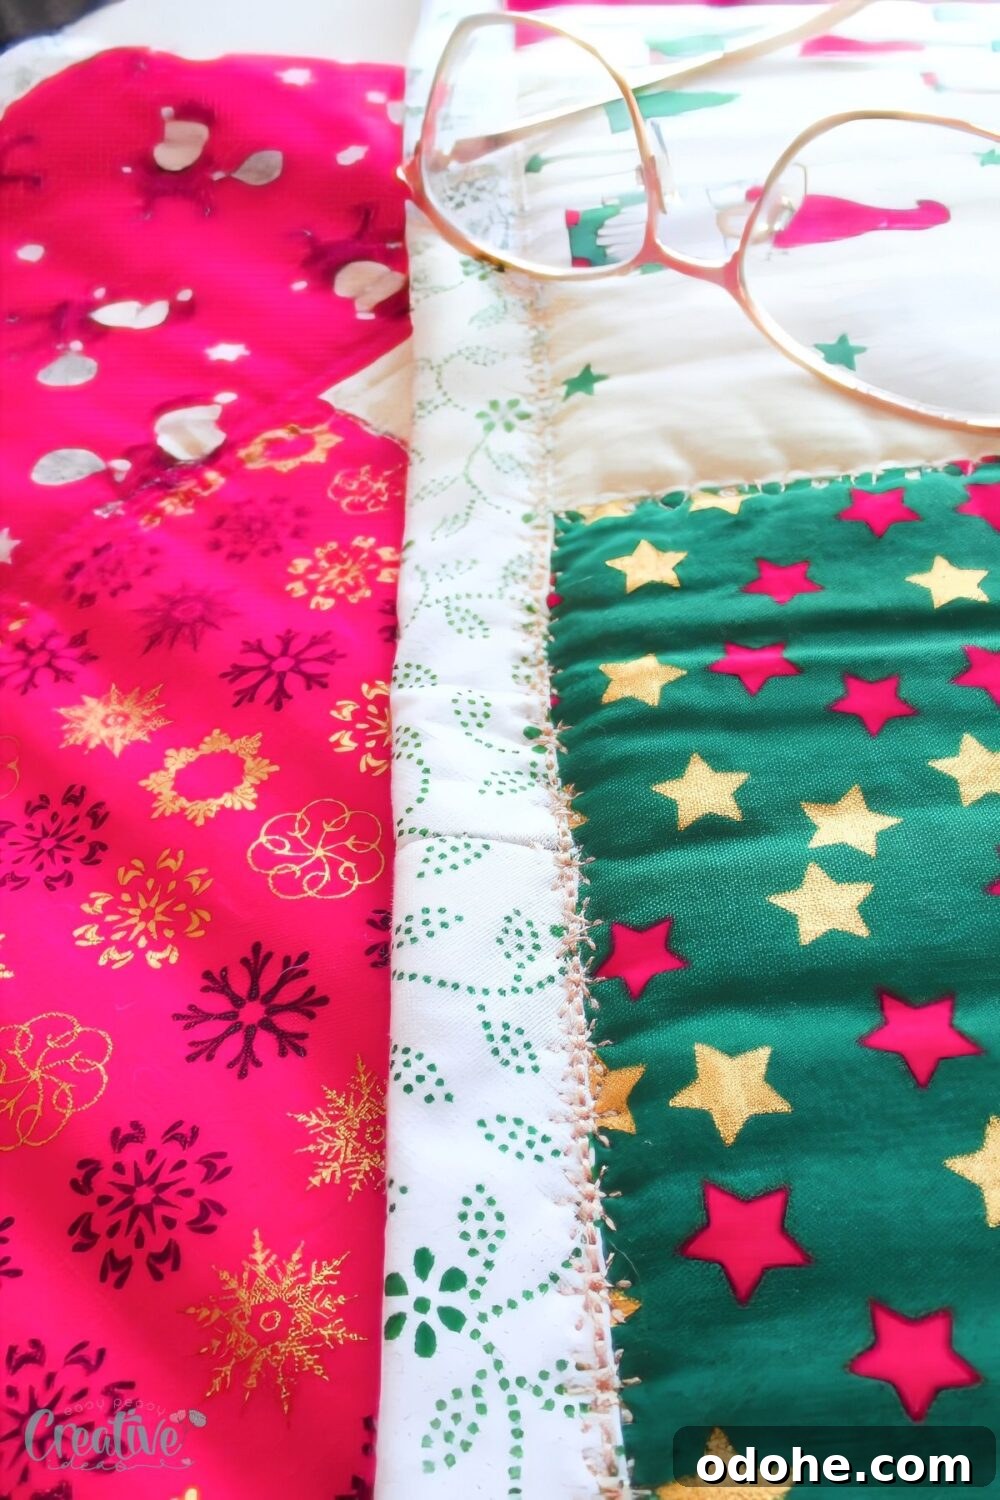
How to join bias binding
Materials needed for this project:
- Bias binding strip
- Quilting project or quilted scraps for practice (recommended for first attempts)
- Matching thread
Substitutes:
If you don’t have commercial bias binding, you can make your own from coordinating fabric. Homemade bias tape is flexible and lets you match prints and weights to your project.
Equipment:
- Sewing machine
- Iron and ironing board (an ironing pad is helpful)
- Fabric scissors
- Fabric marker
- Pins
- Wonder clips
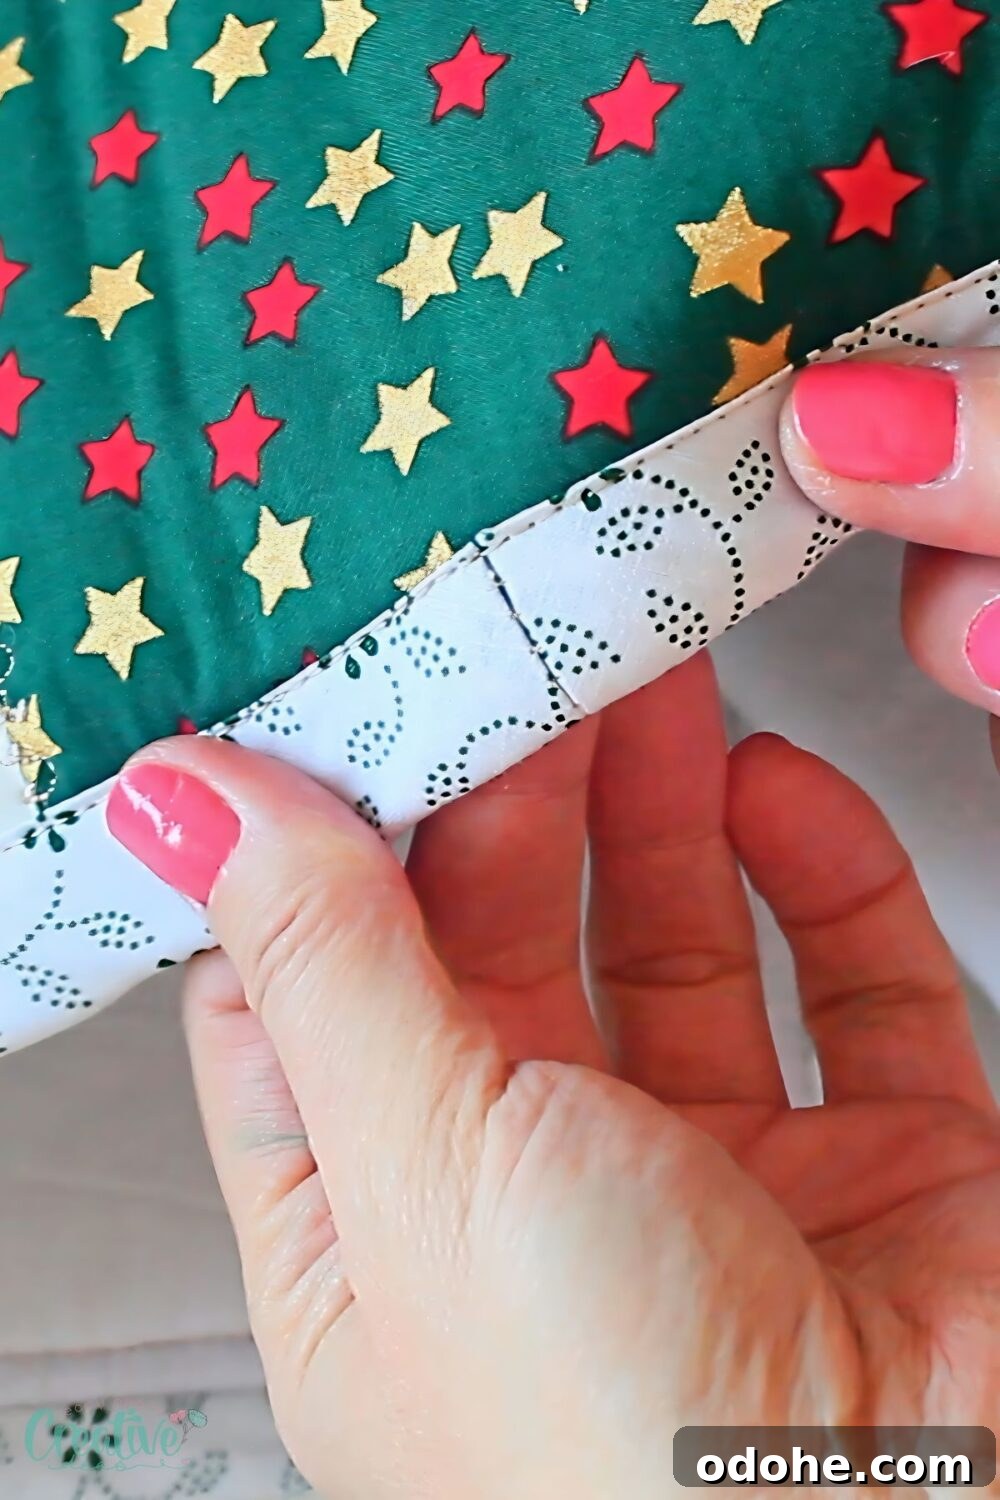
Step-by-step directions for sewing bias binding ends together
- Begin by sewing the raw edge of the bias binding to the raw edge of the quilt, leaving about 2 inches of the binding free at the start.
- When you approach the end of the strip, stop sewing about 2 inches before the strip ends.
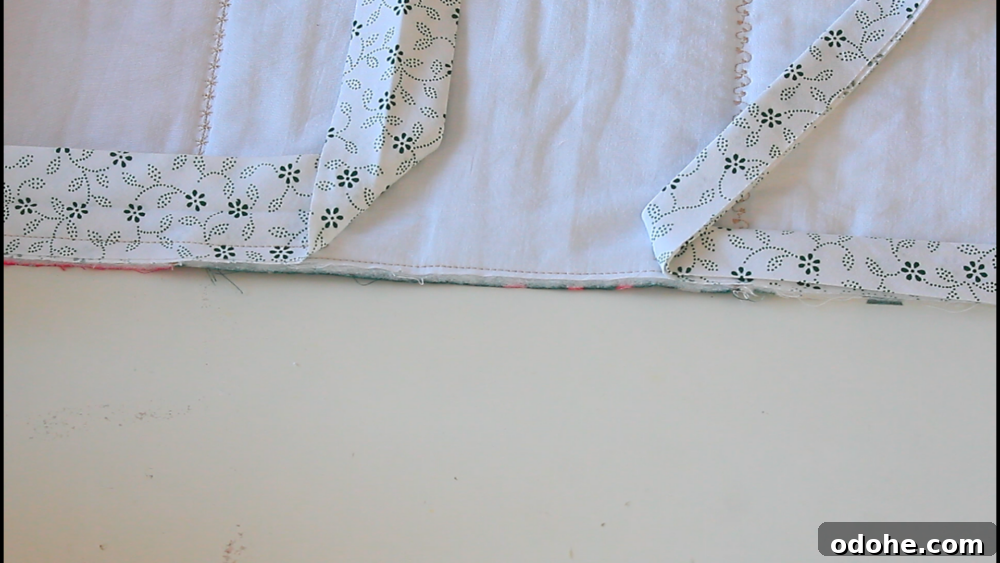
- Remove the quilt from the machine and lay it flat on a surface so you can work comfortably.
- Bring the two ends of the bias binding together so they meet neatly.
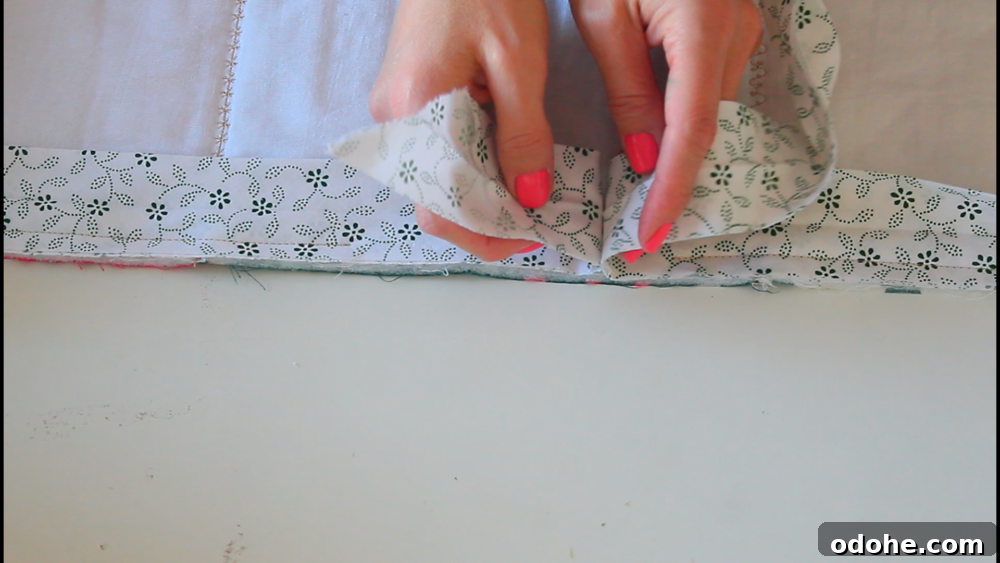
- Mark the point where the ends meet, then pin through those layers to hold them together.
- Sew the pinned area to join the binding; this creates the connecting seam.
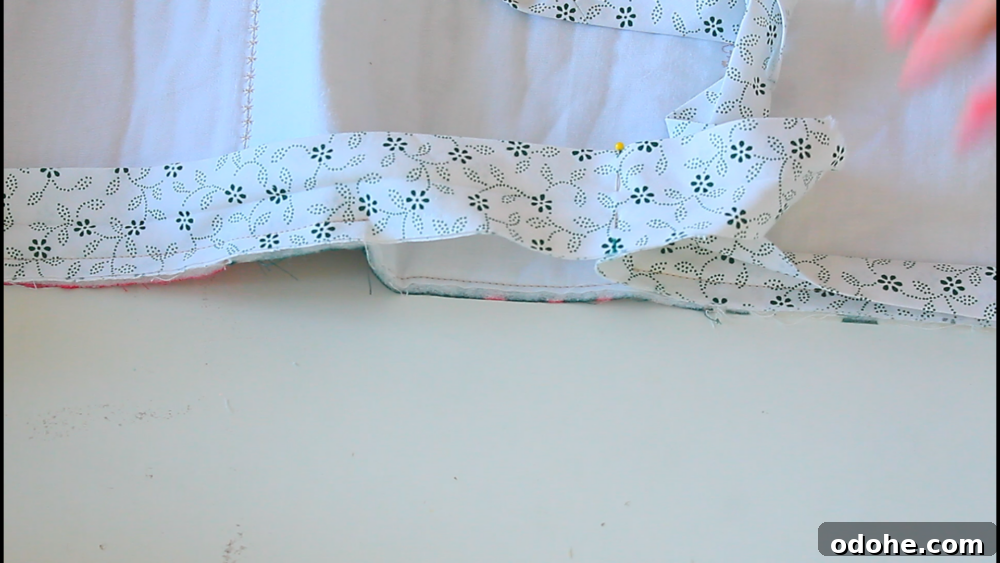
- Trim the excess fabric from both ends, leaving about 1/2″ of seam allowance on each side.
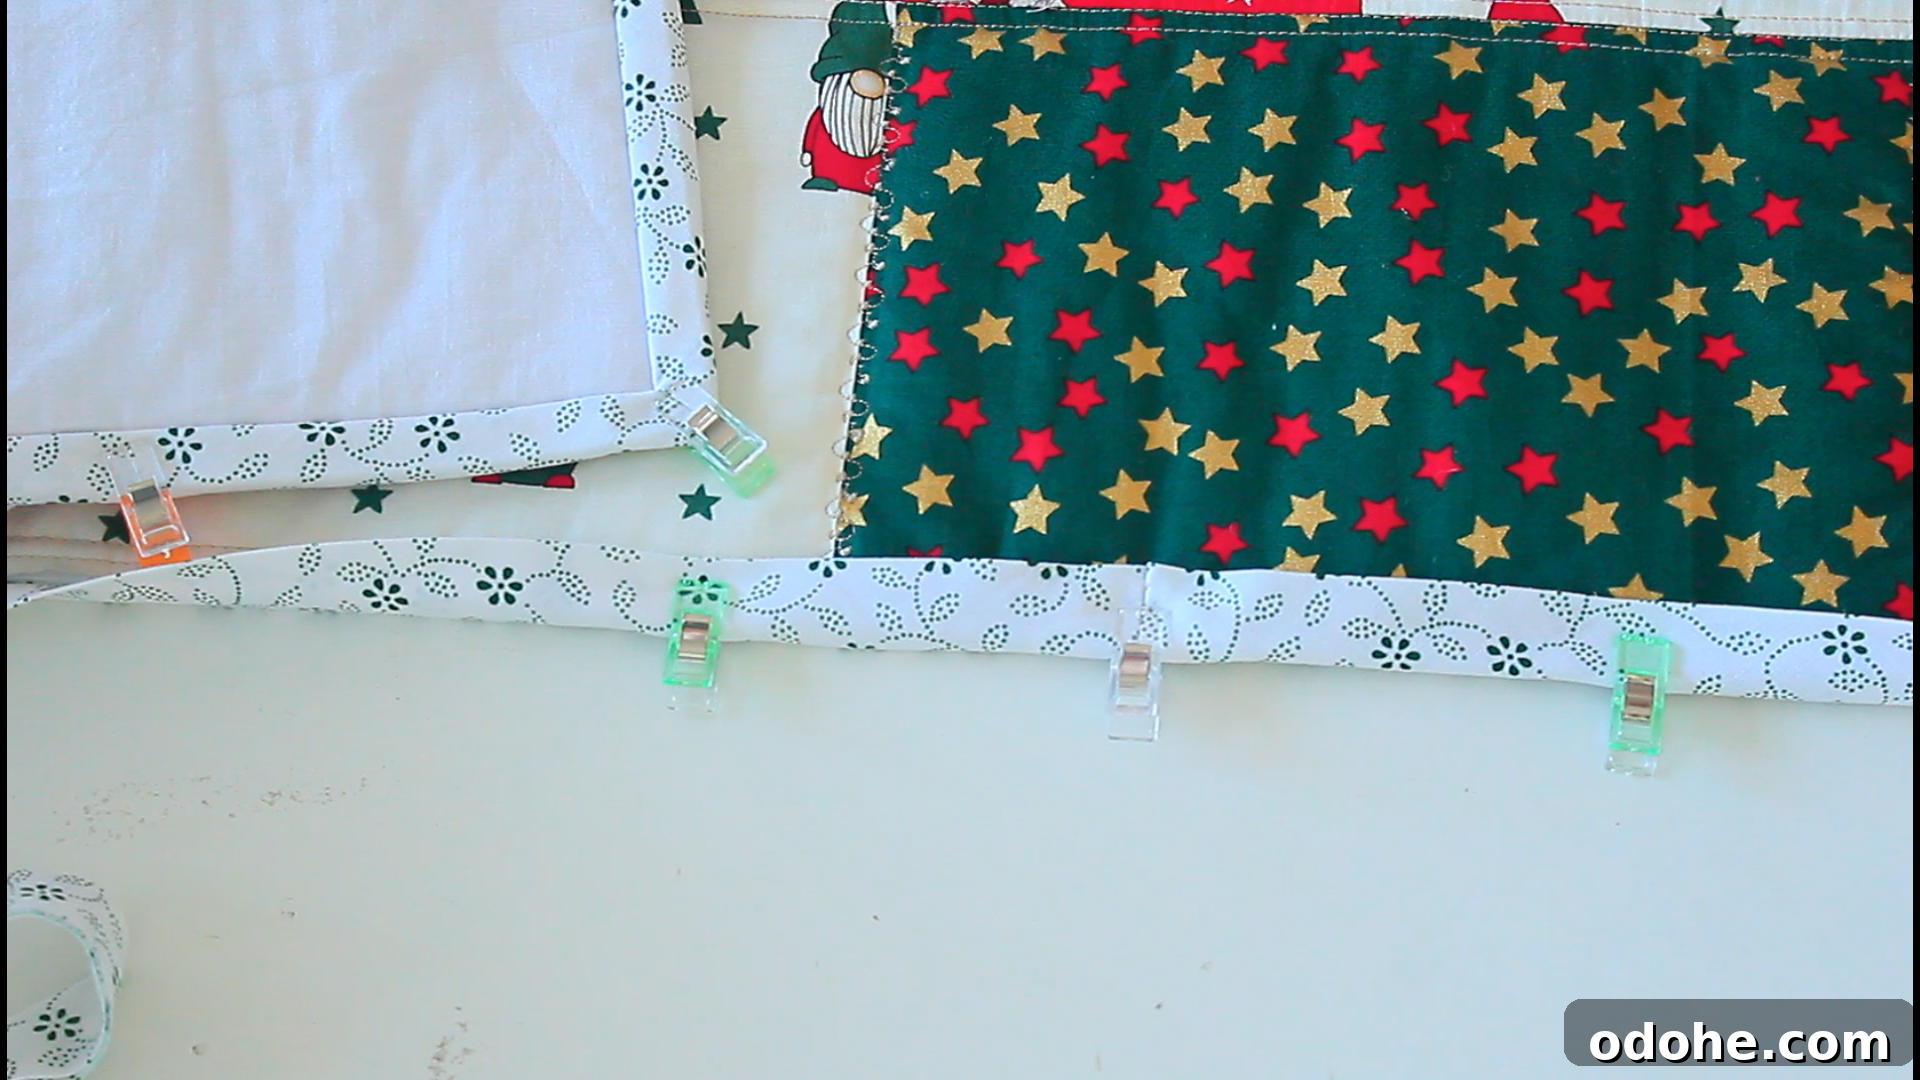
- Align the binding against the quilt edge, fold the joined ends to one side, and press them flat to reduce bulk.
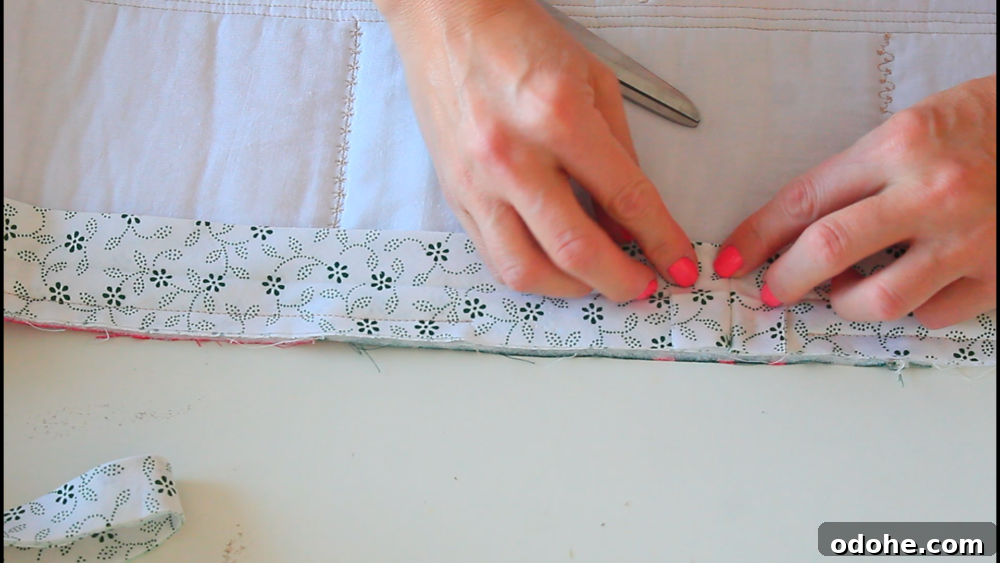
- Continue sewing the binding to the quilt from where you stopped, sewing until you reach the starting point.
- Turn the quilt to the opposite side to finish the binding.
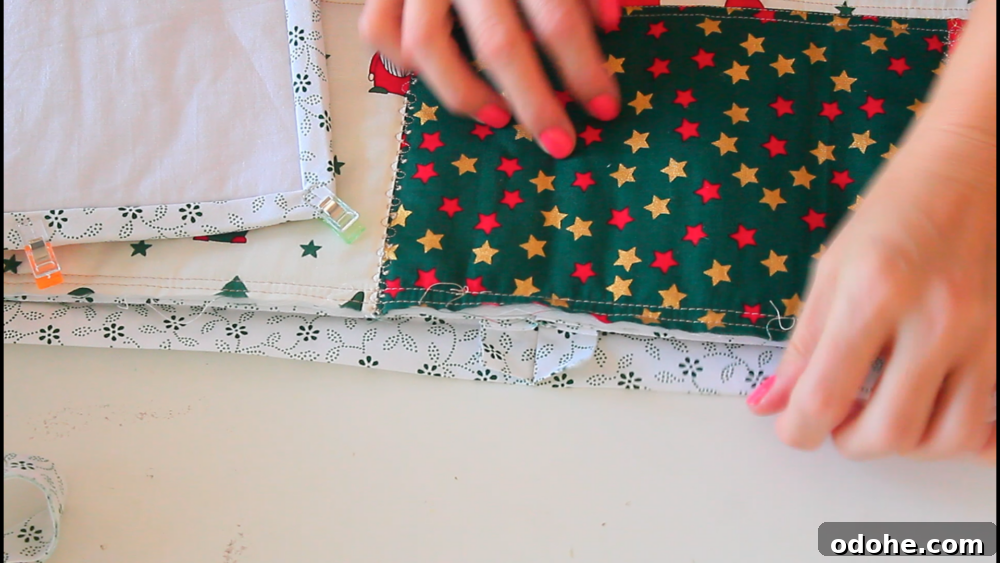
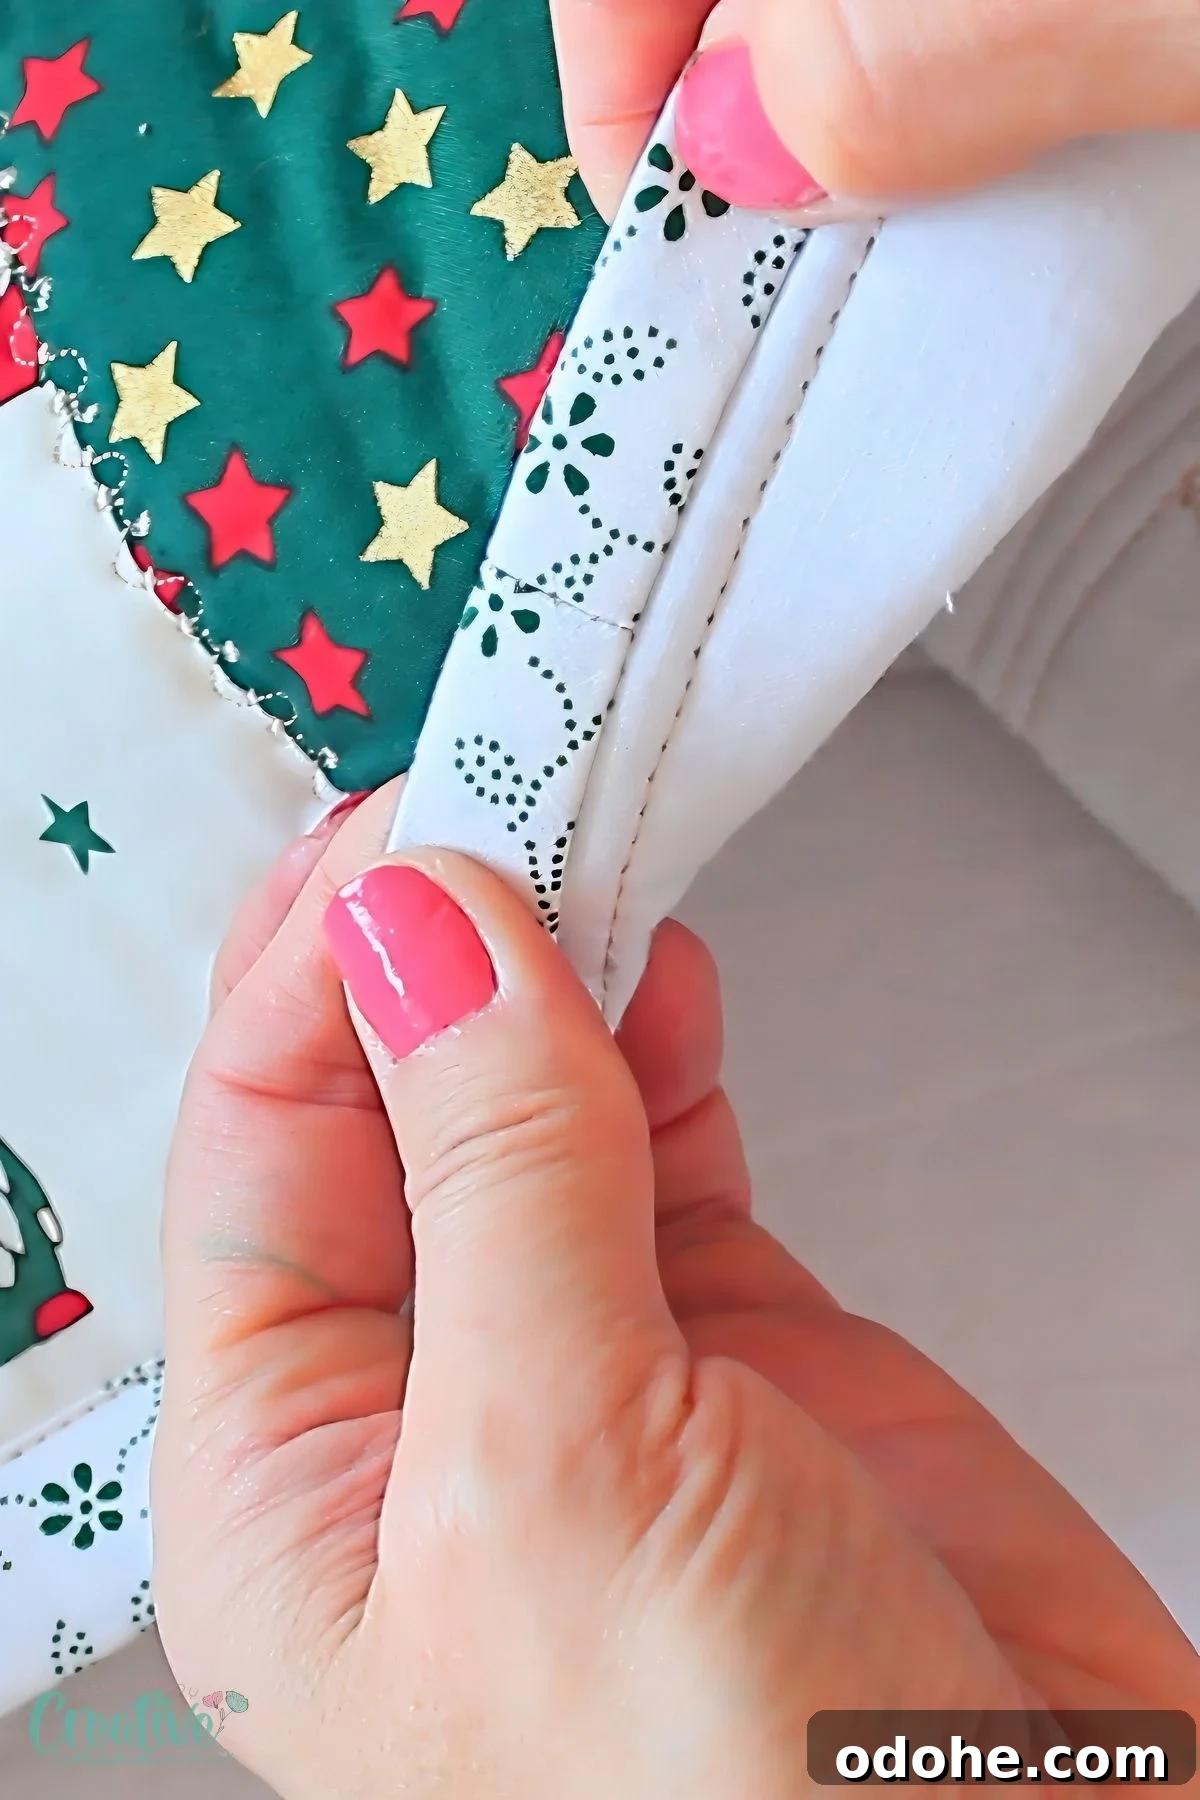
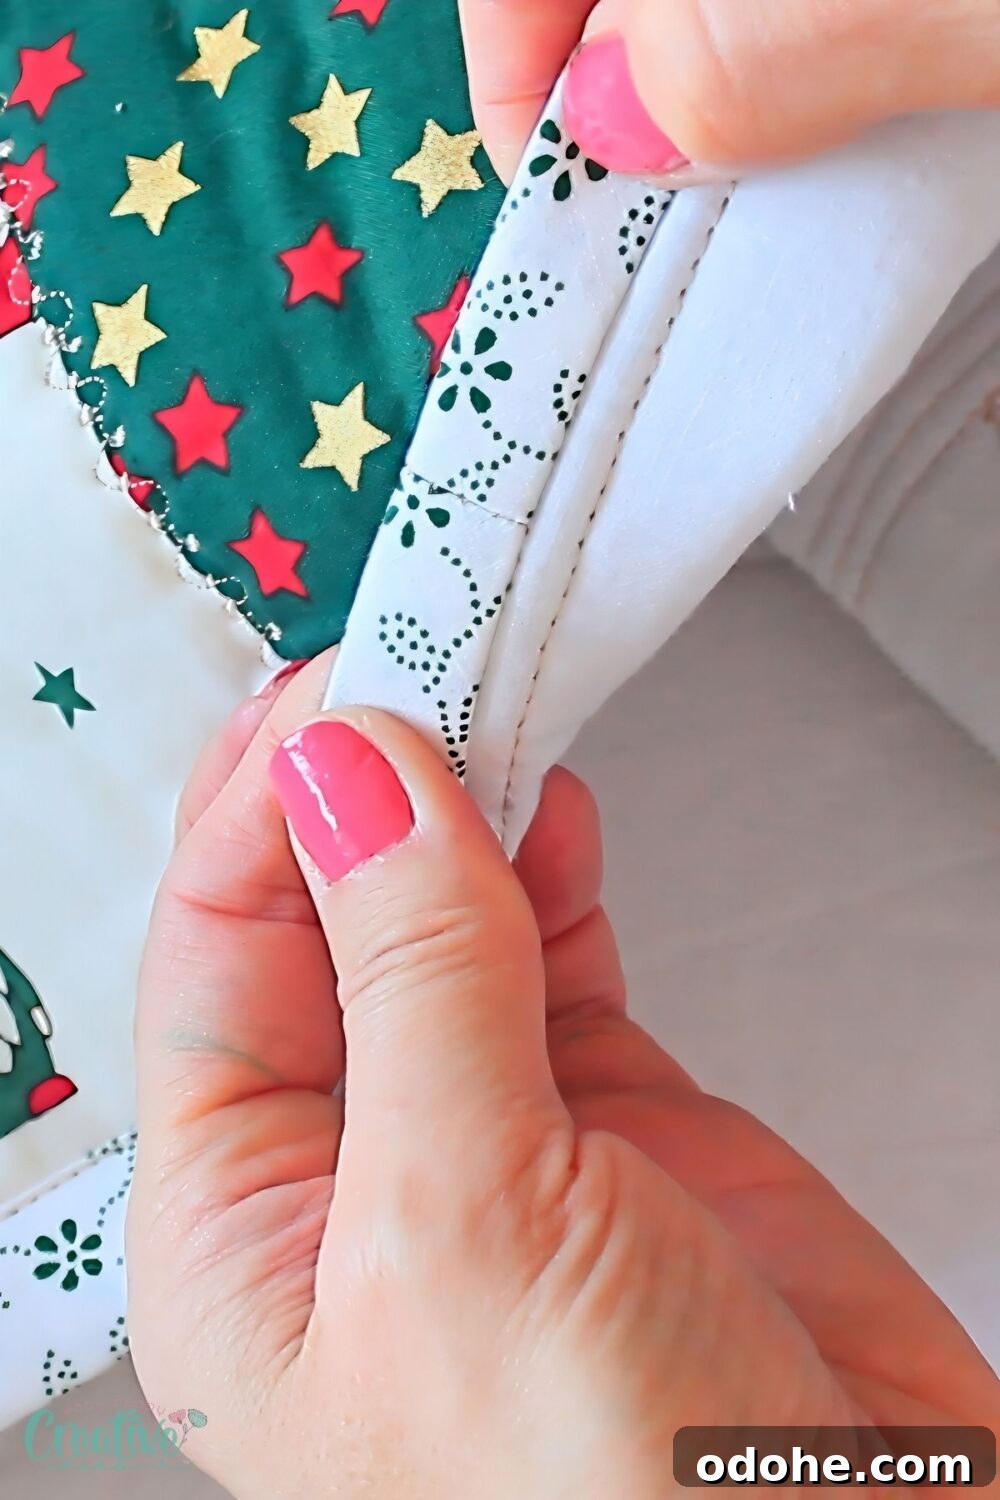
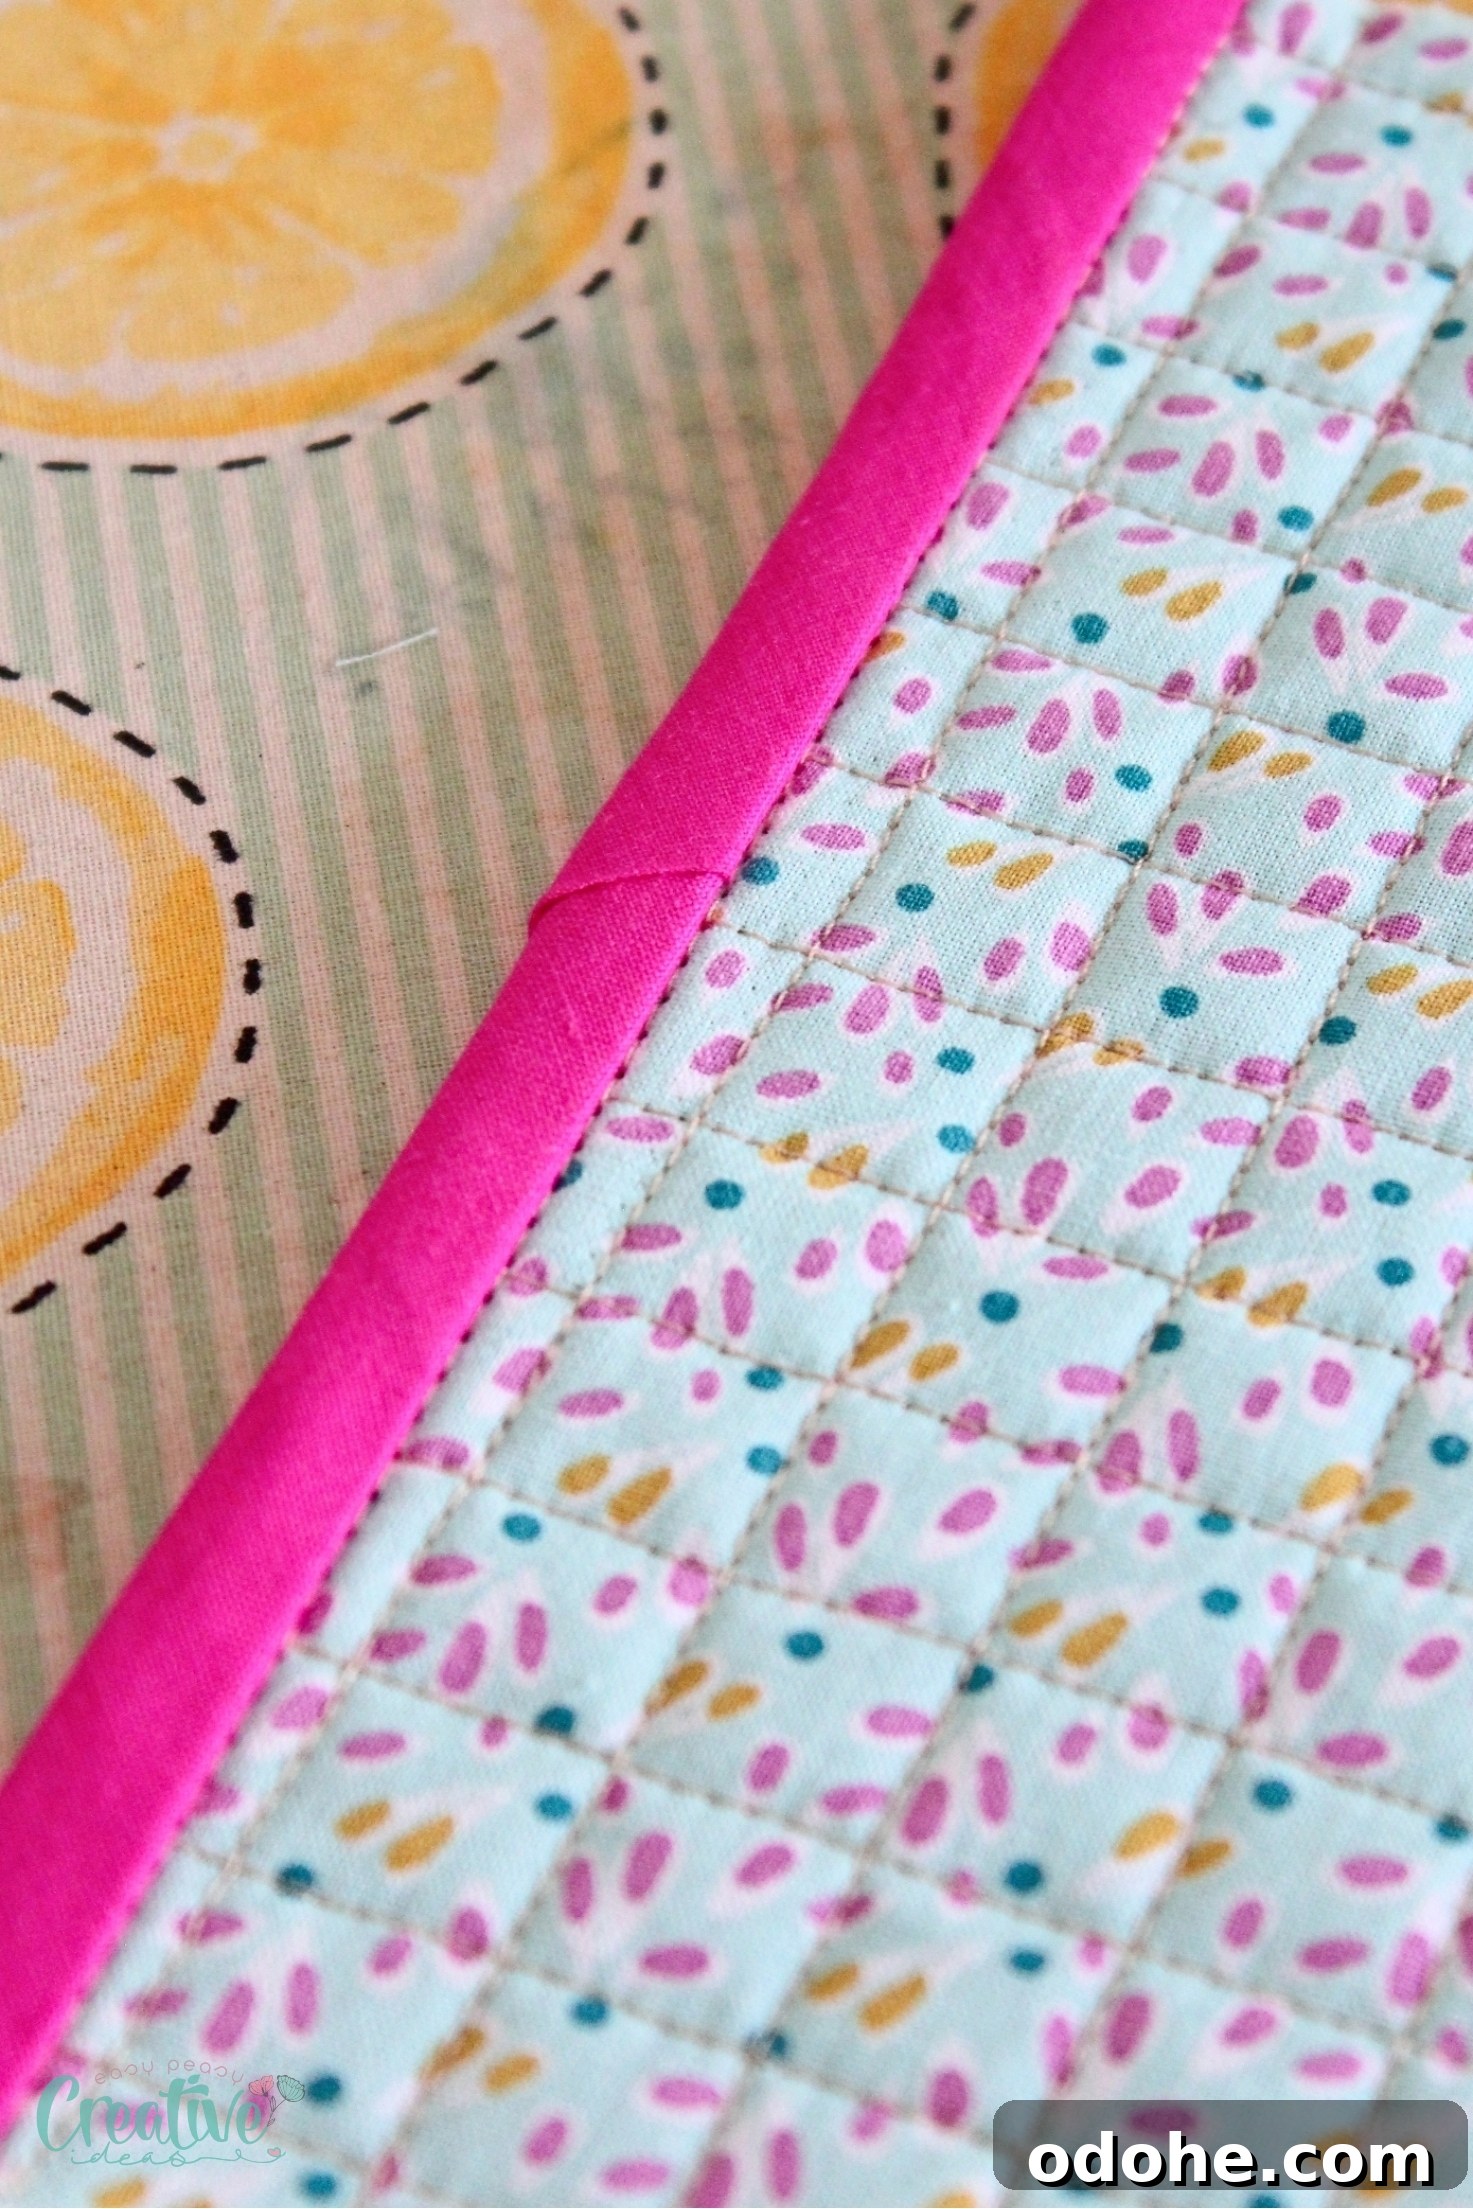
- At the joining seam, press the small corners of each end down to form two tiny triangles. This reduces bulk and helps the join lie flat.
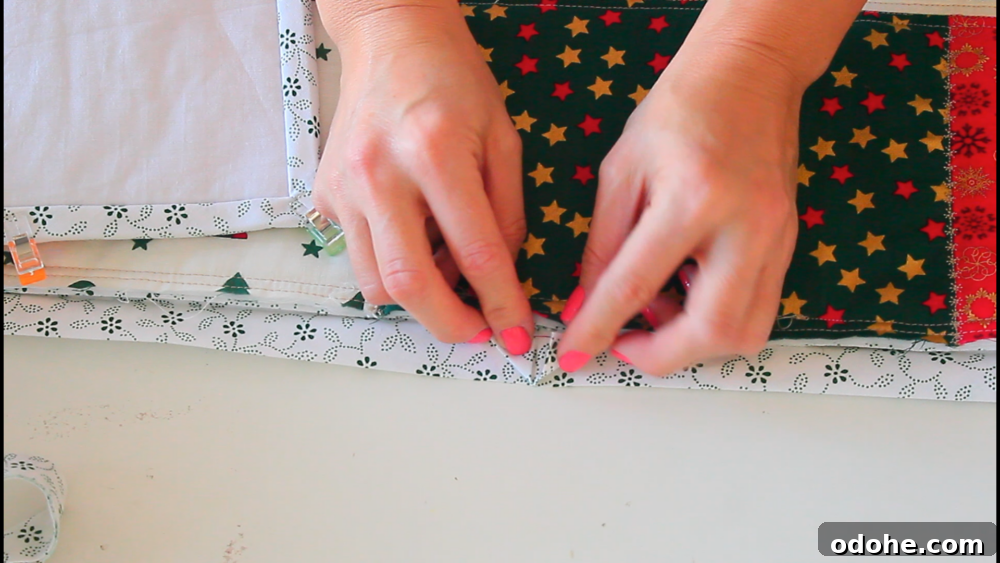
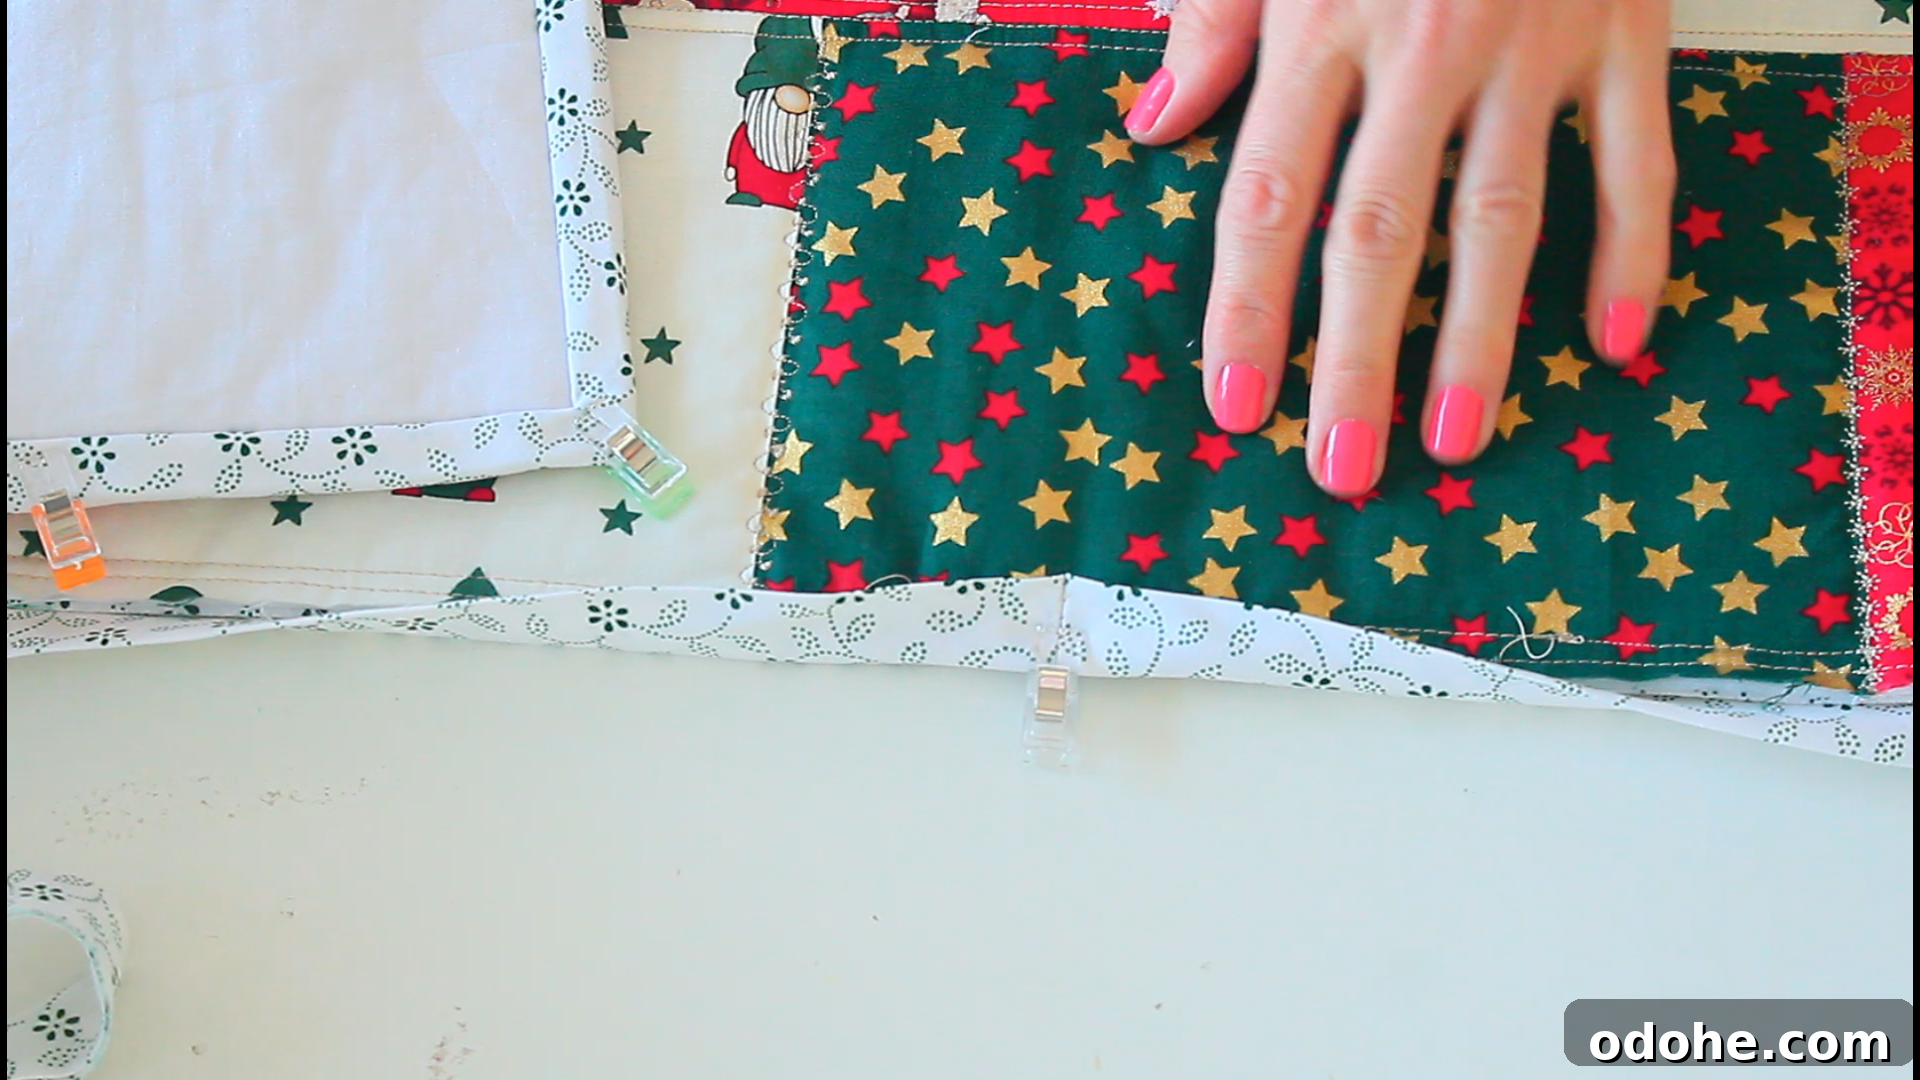
- Fold the binding over the quilt edge and secure it with wonder clips or pins.
- Stitch in the ditch from the front to finish attaching the binding on the back side; this keeps the join invisible from the front.
- Press the entire binding once more for a crisp, finished look.
Where to use this method
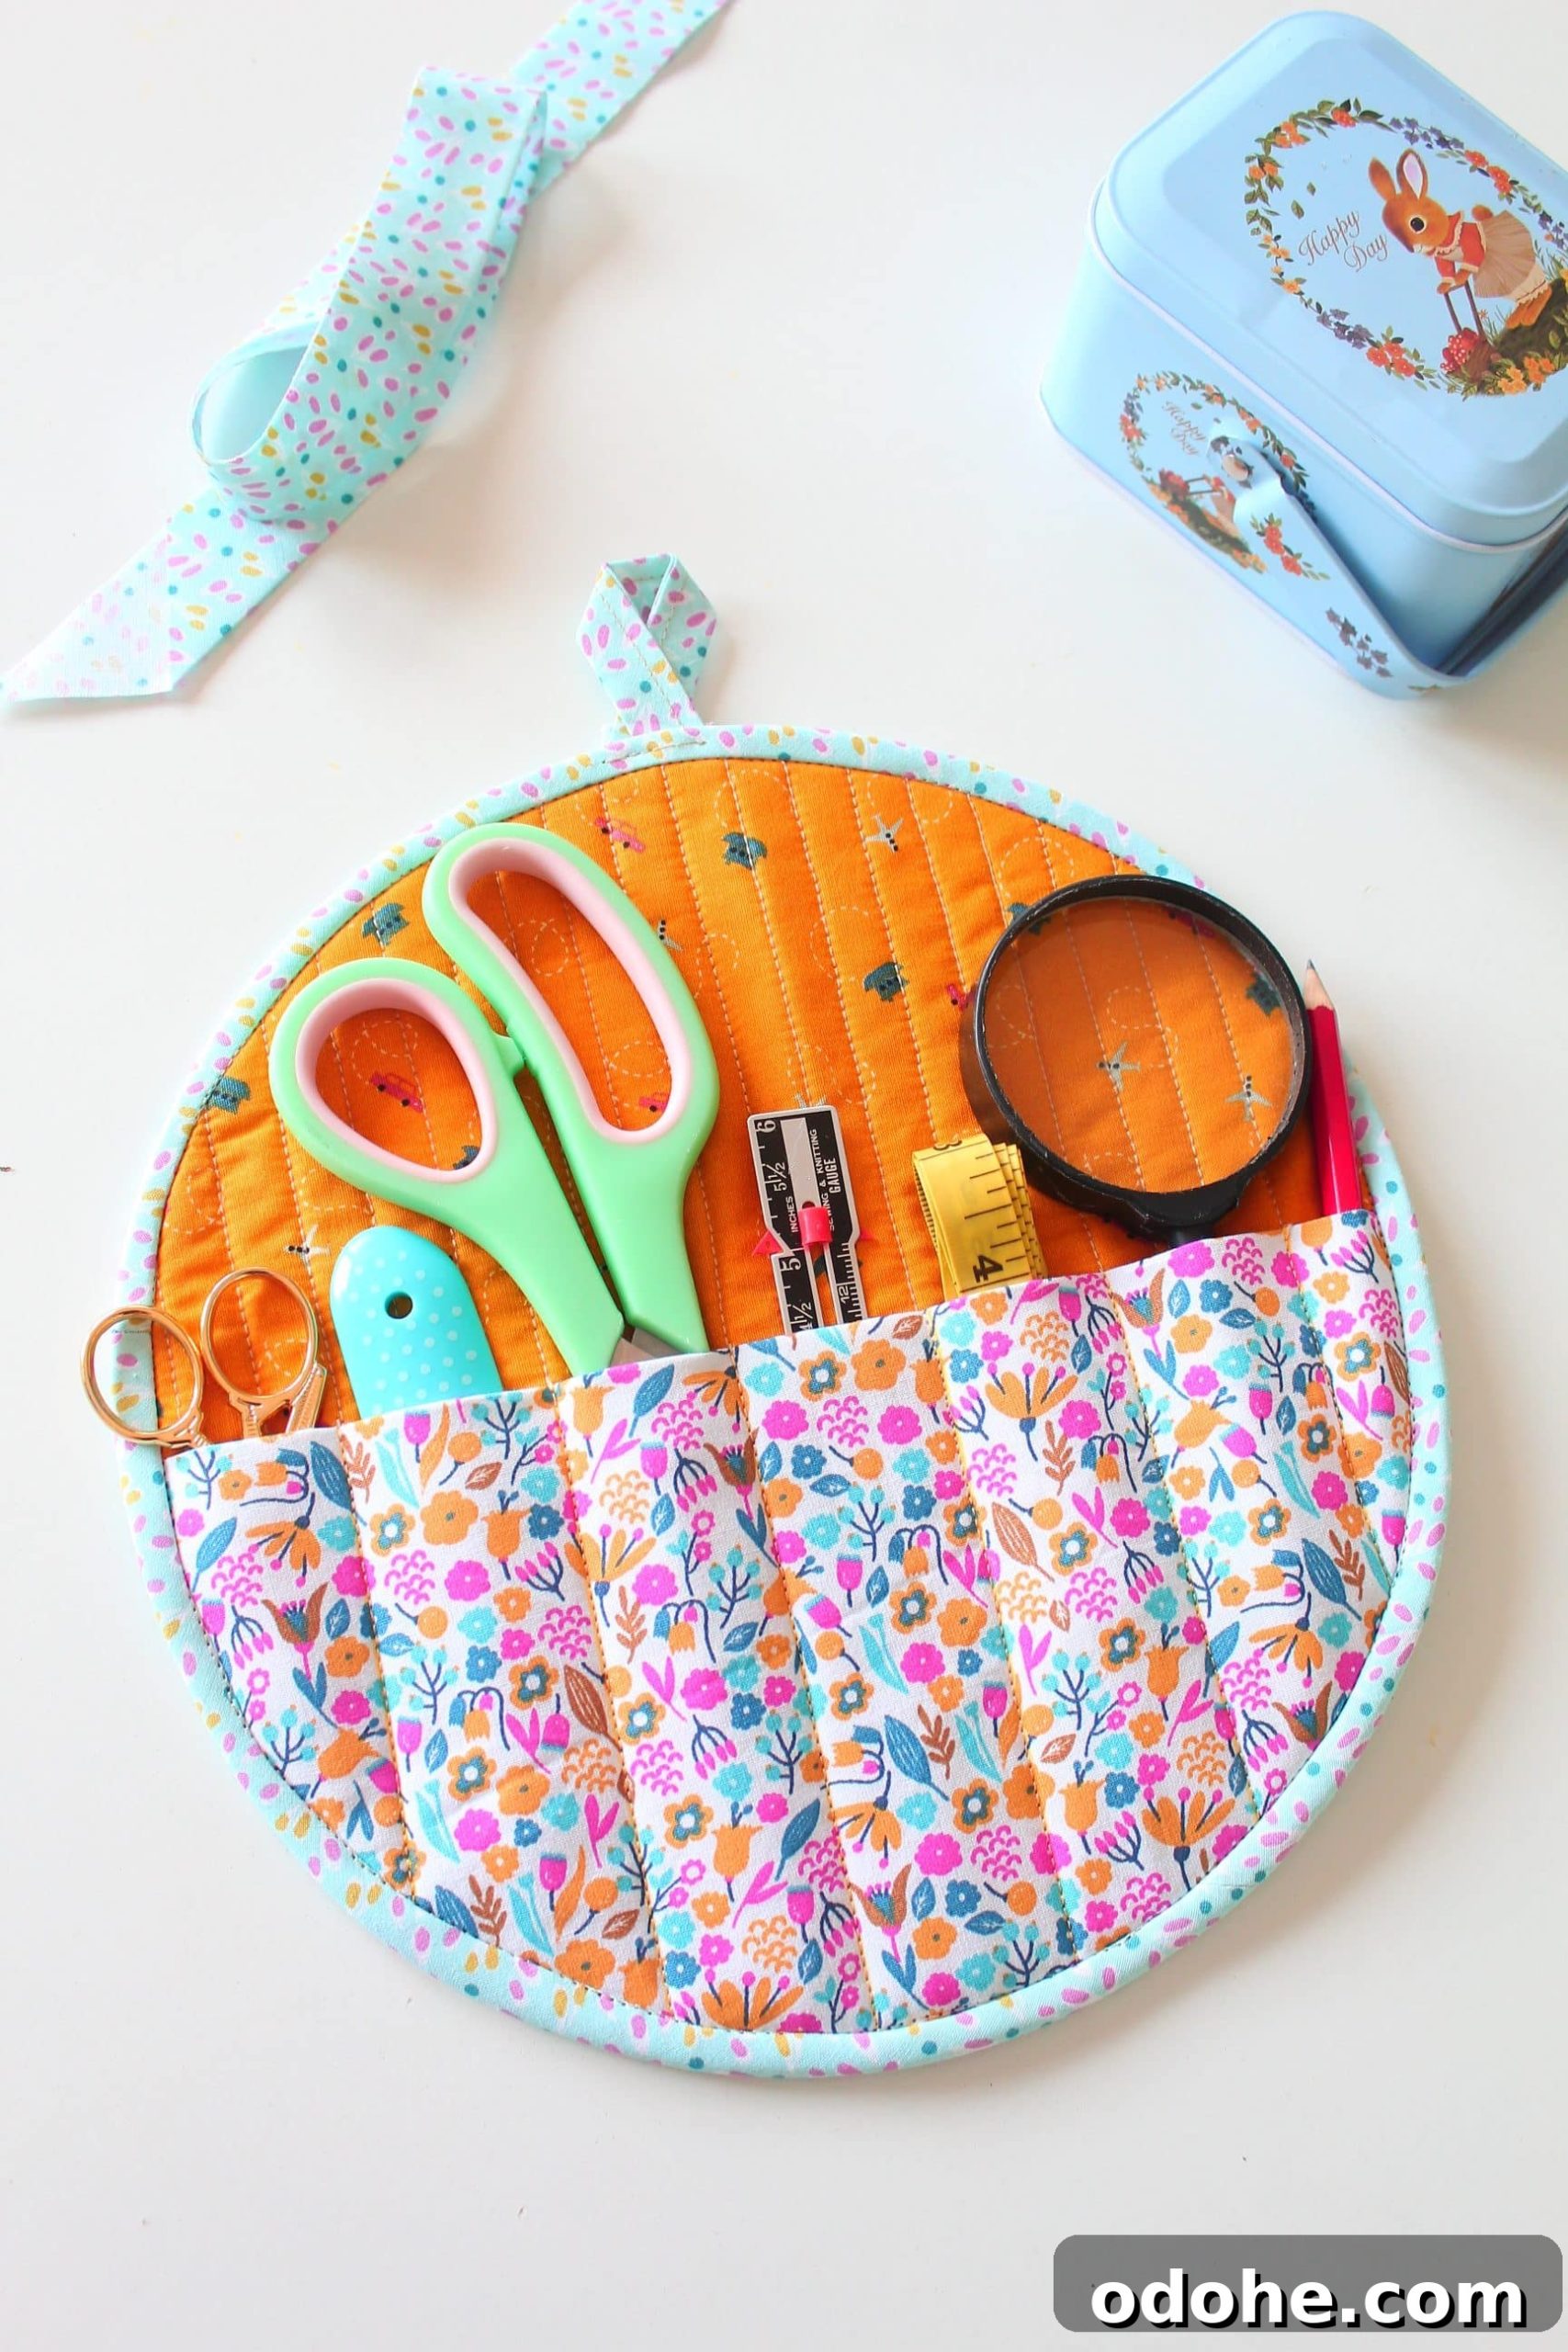
This joining technique works well for many projects that require bias binding: potholders, table runners, placemats, and bags. It’s especially useful when you want a tidy, low-bulk seam on corners and curved edges.
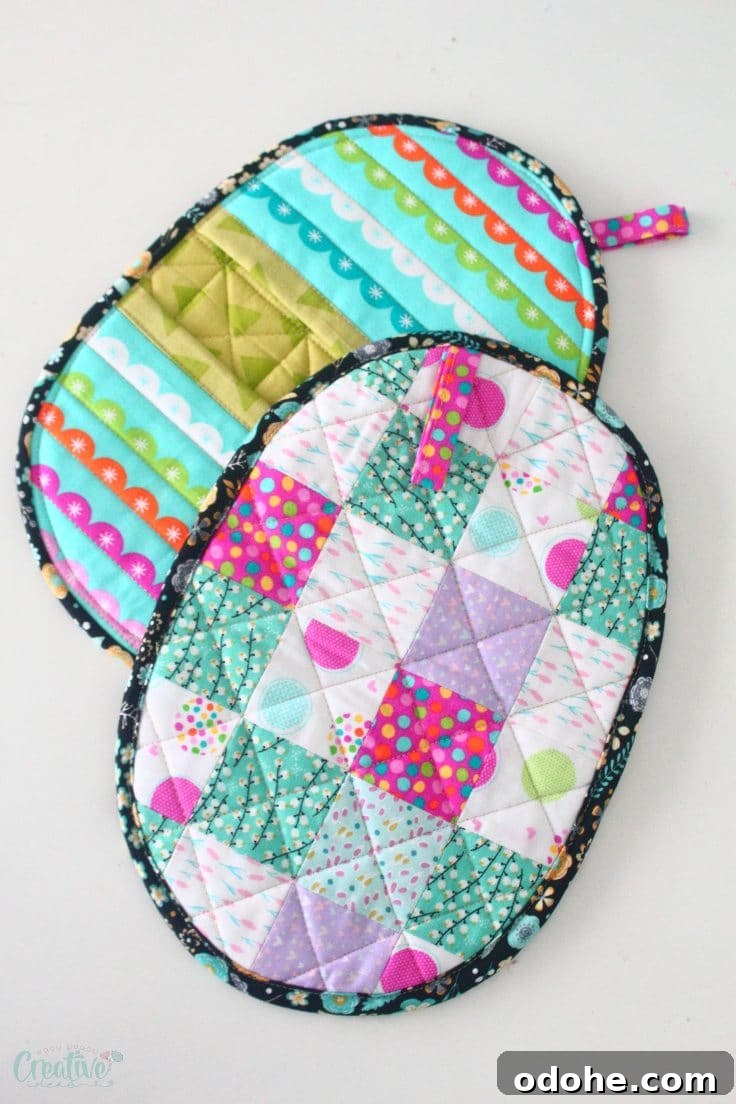
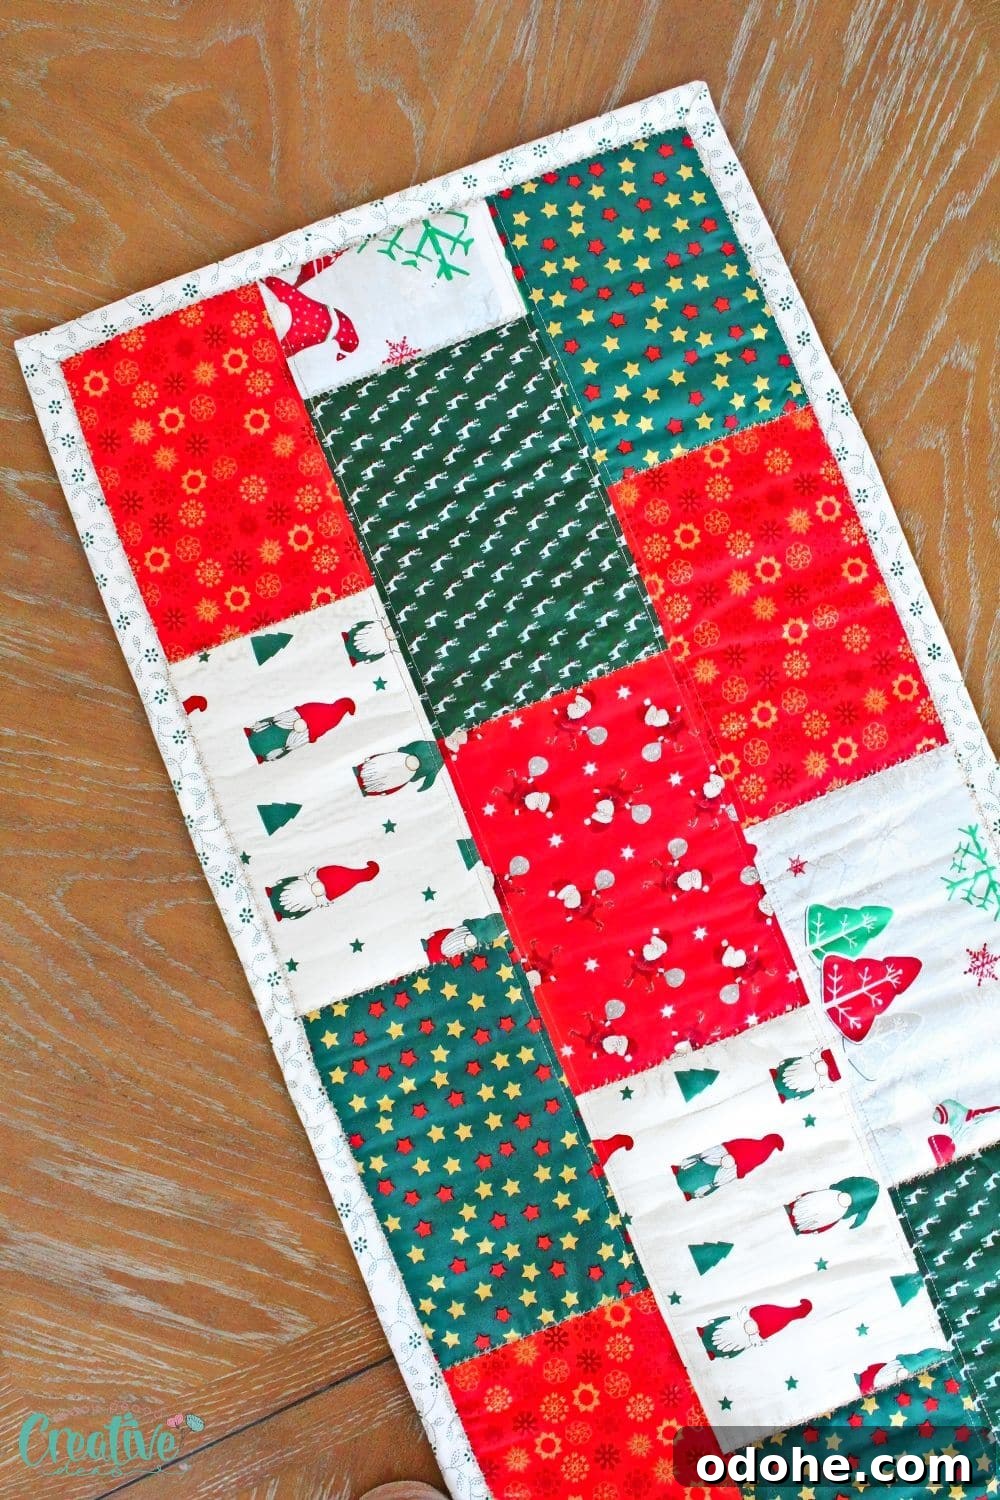
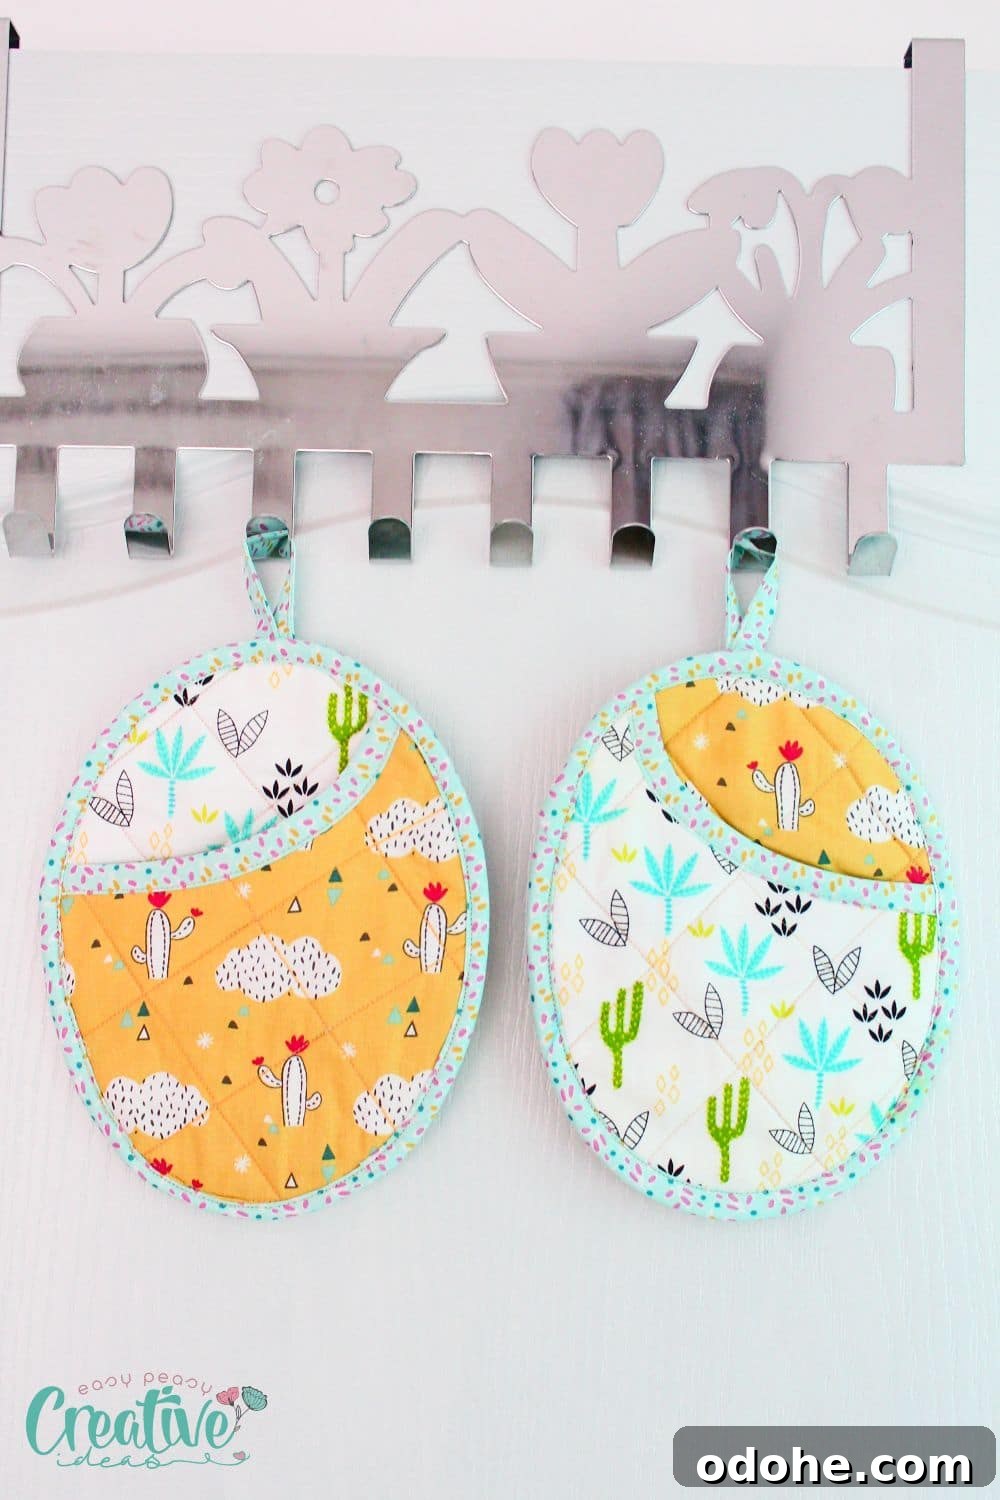
With this “lazy” method you’ll often get a smooth, even finish. If something looks off, simply unclip or unpin the area, realign the ends, and resew the joining seam. It’s quick to correct and very forgiving.
Frequently Asked Questions
Can I join bias binding without a sewing machine?
Yes. You can hand-sew the join using a slip stitch or small backstitches for a secure result.
Will this method create a lot of bulk?
No. Folding the ends and pressing small triangles at the join help reduce bulk so the seam stays slim and tidy.
What if I want extra durability?
For added strength, topstitch along the joining seam or stitch the binding down more securely after folding. This gives extra reinforcement where the binding meets.
More sewing tips you’ll enjoy:
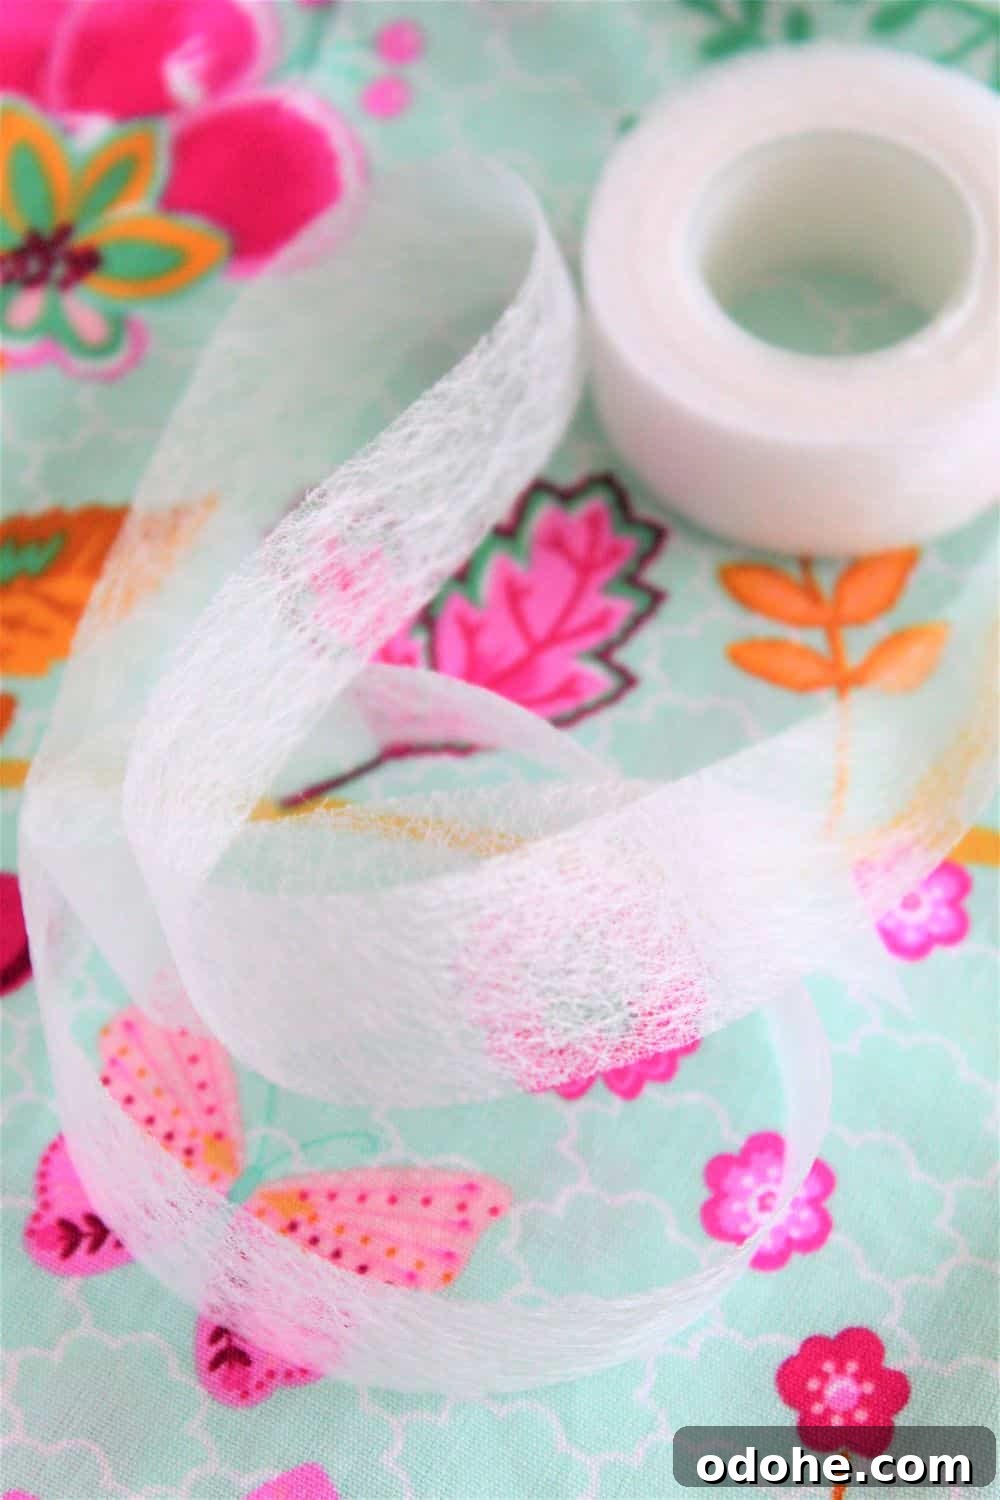
- How to use hemming tape in sewing
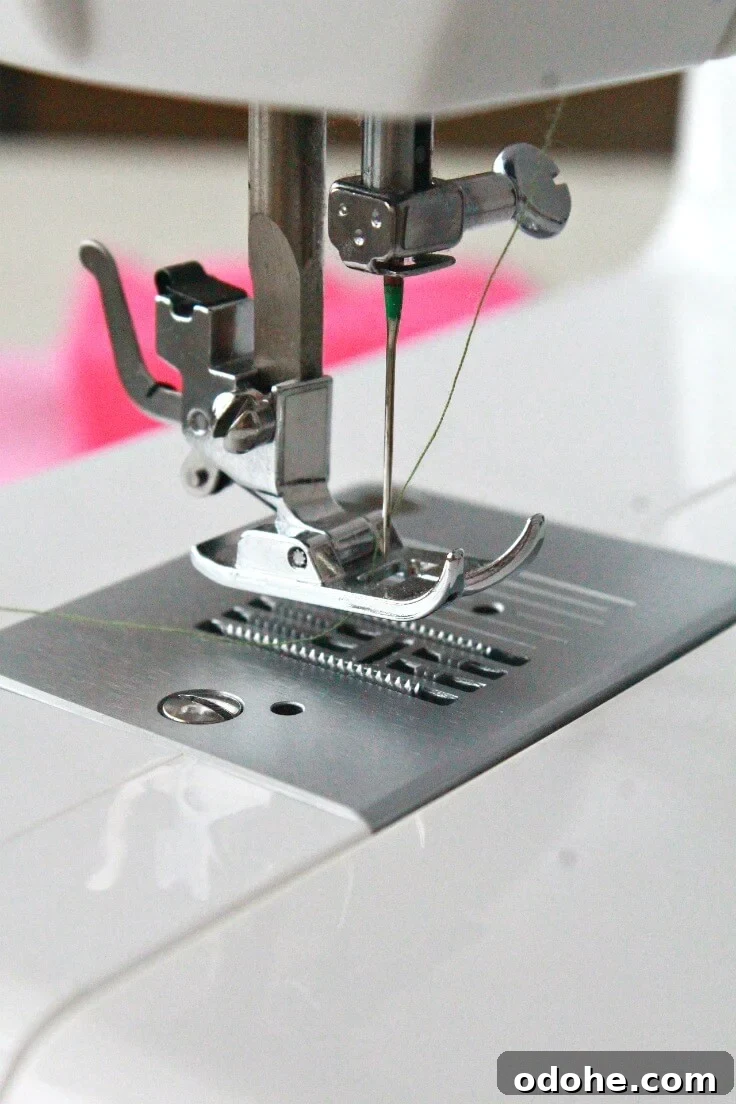
- How to adjust presser foot pressure on your sewing machine
- Tips for sewing vinyl with a home sewing machine
- How to use a seam ripper properly
- How to sew binding ends together
I hope this guide helps you feel confident joining bias binding. It’s a small skill that makes a big difference in the finished look of your projects. Happy sewing—enjoy creating!
Most popular sewing projects
- Tips for sewing a round hem
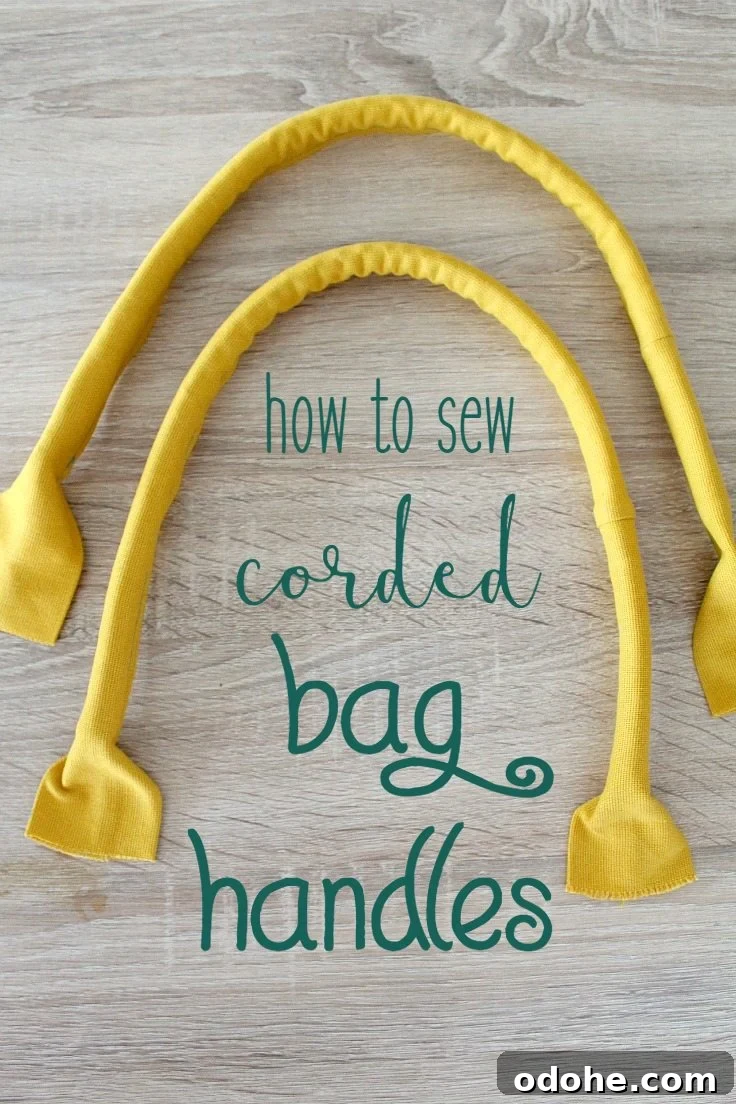
- Corded bag handles
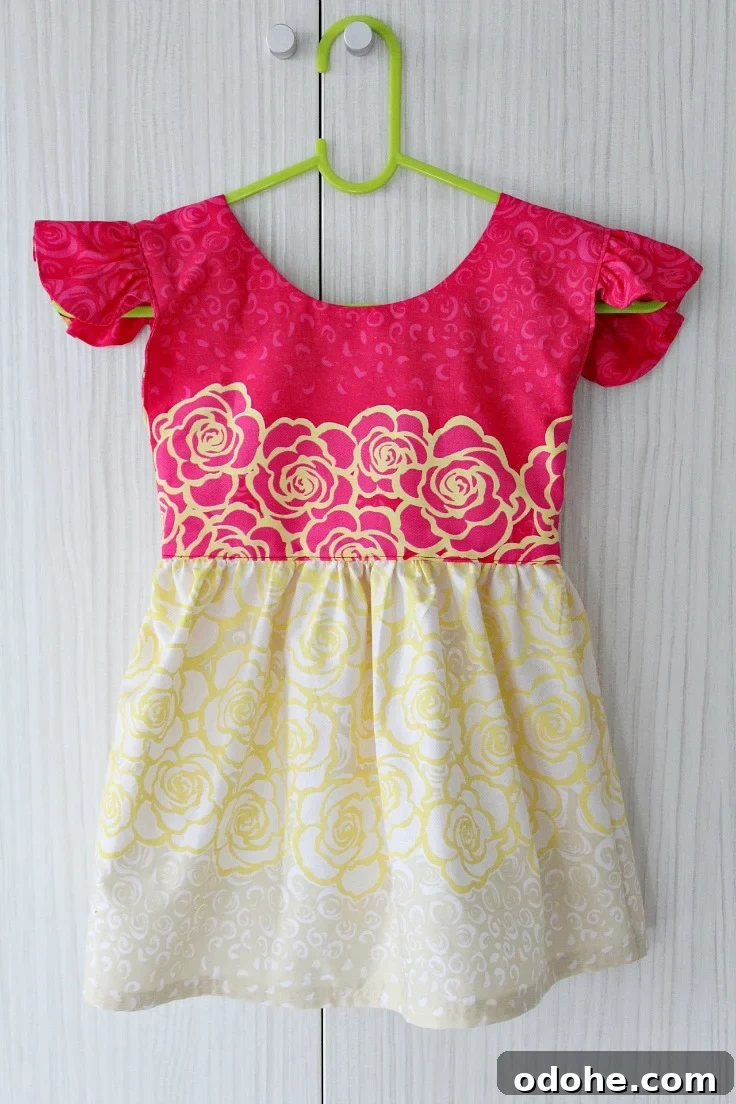
- Flutter sleeve dress pattern
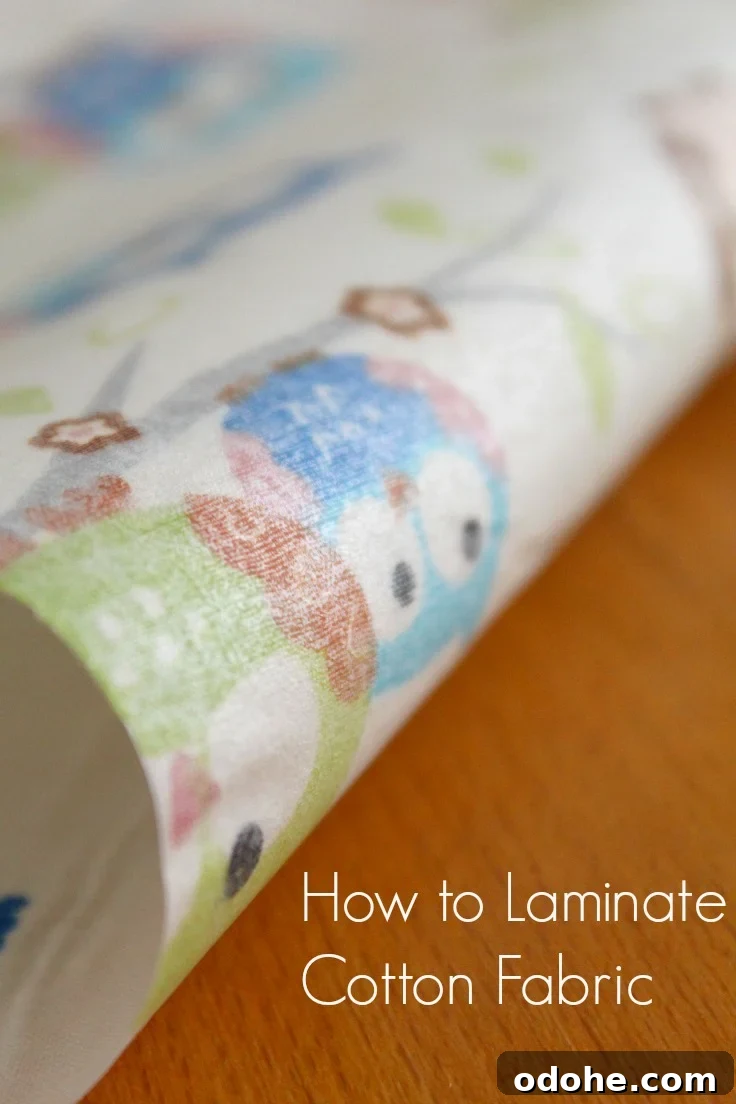
- How to laminate cotton fabric