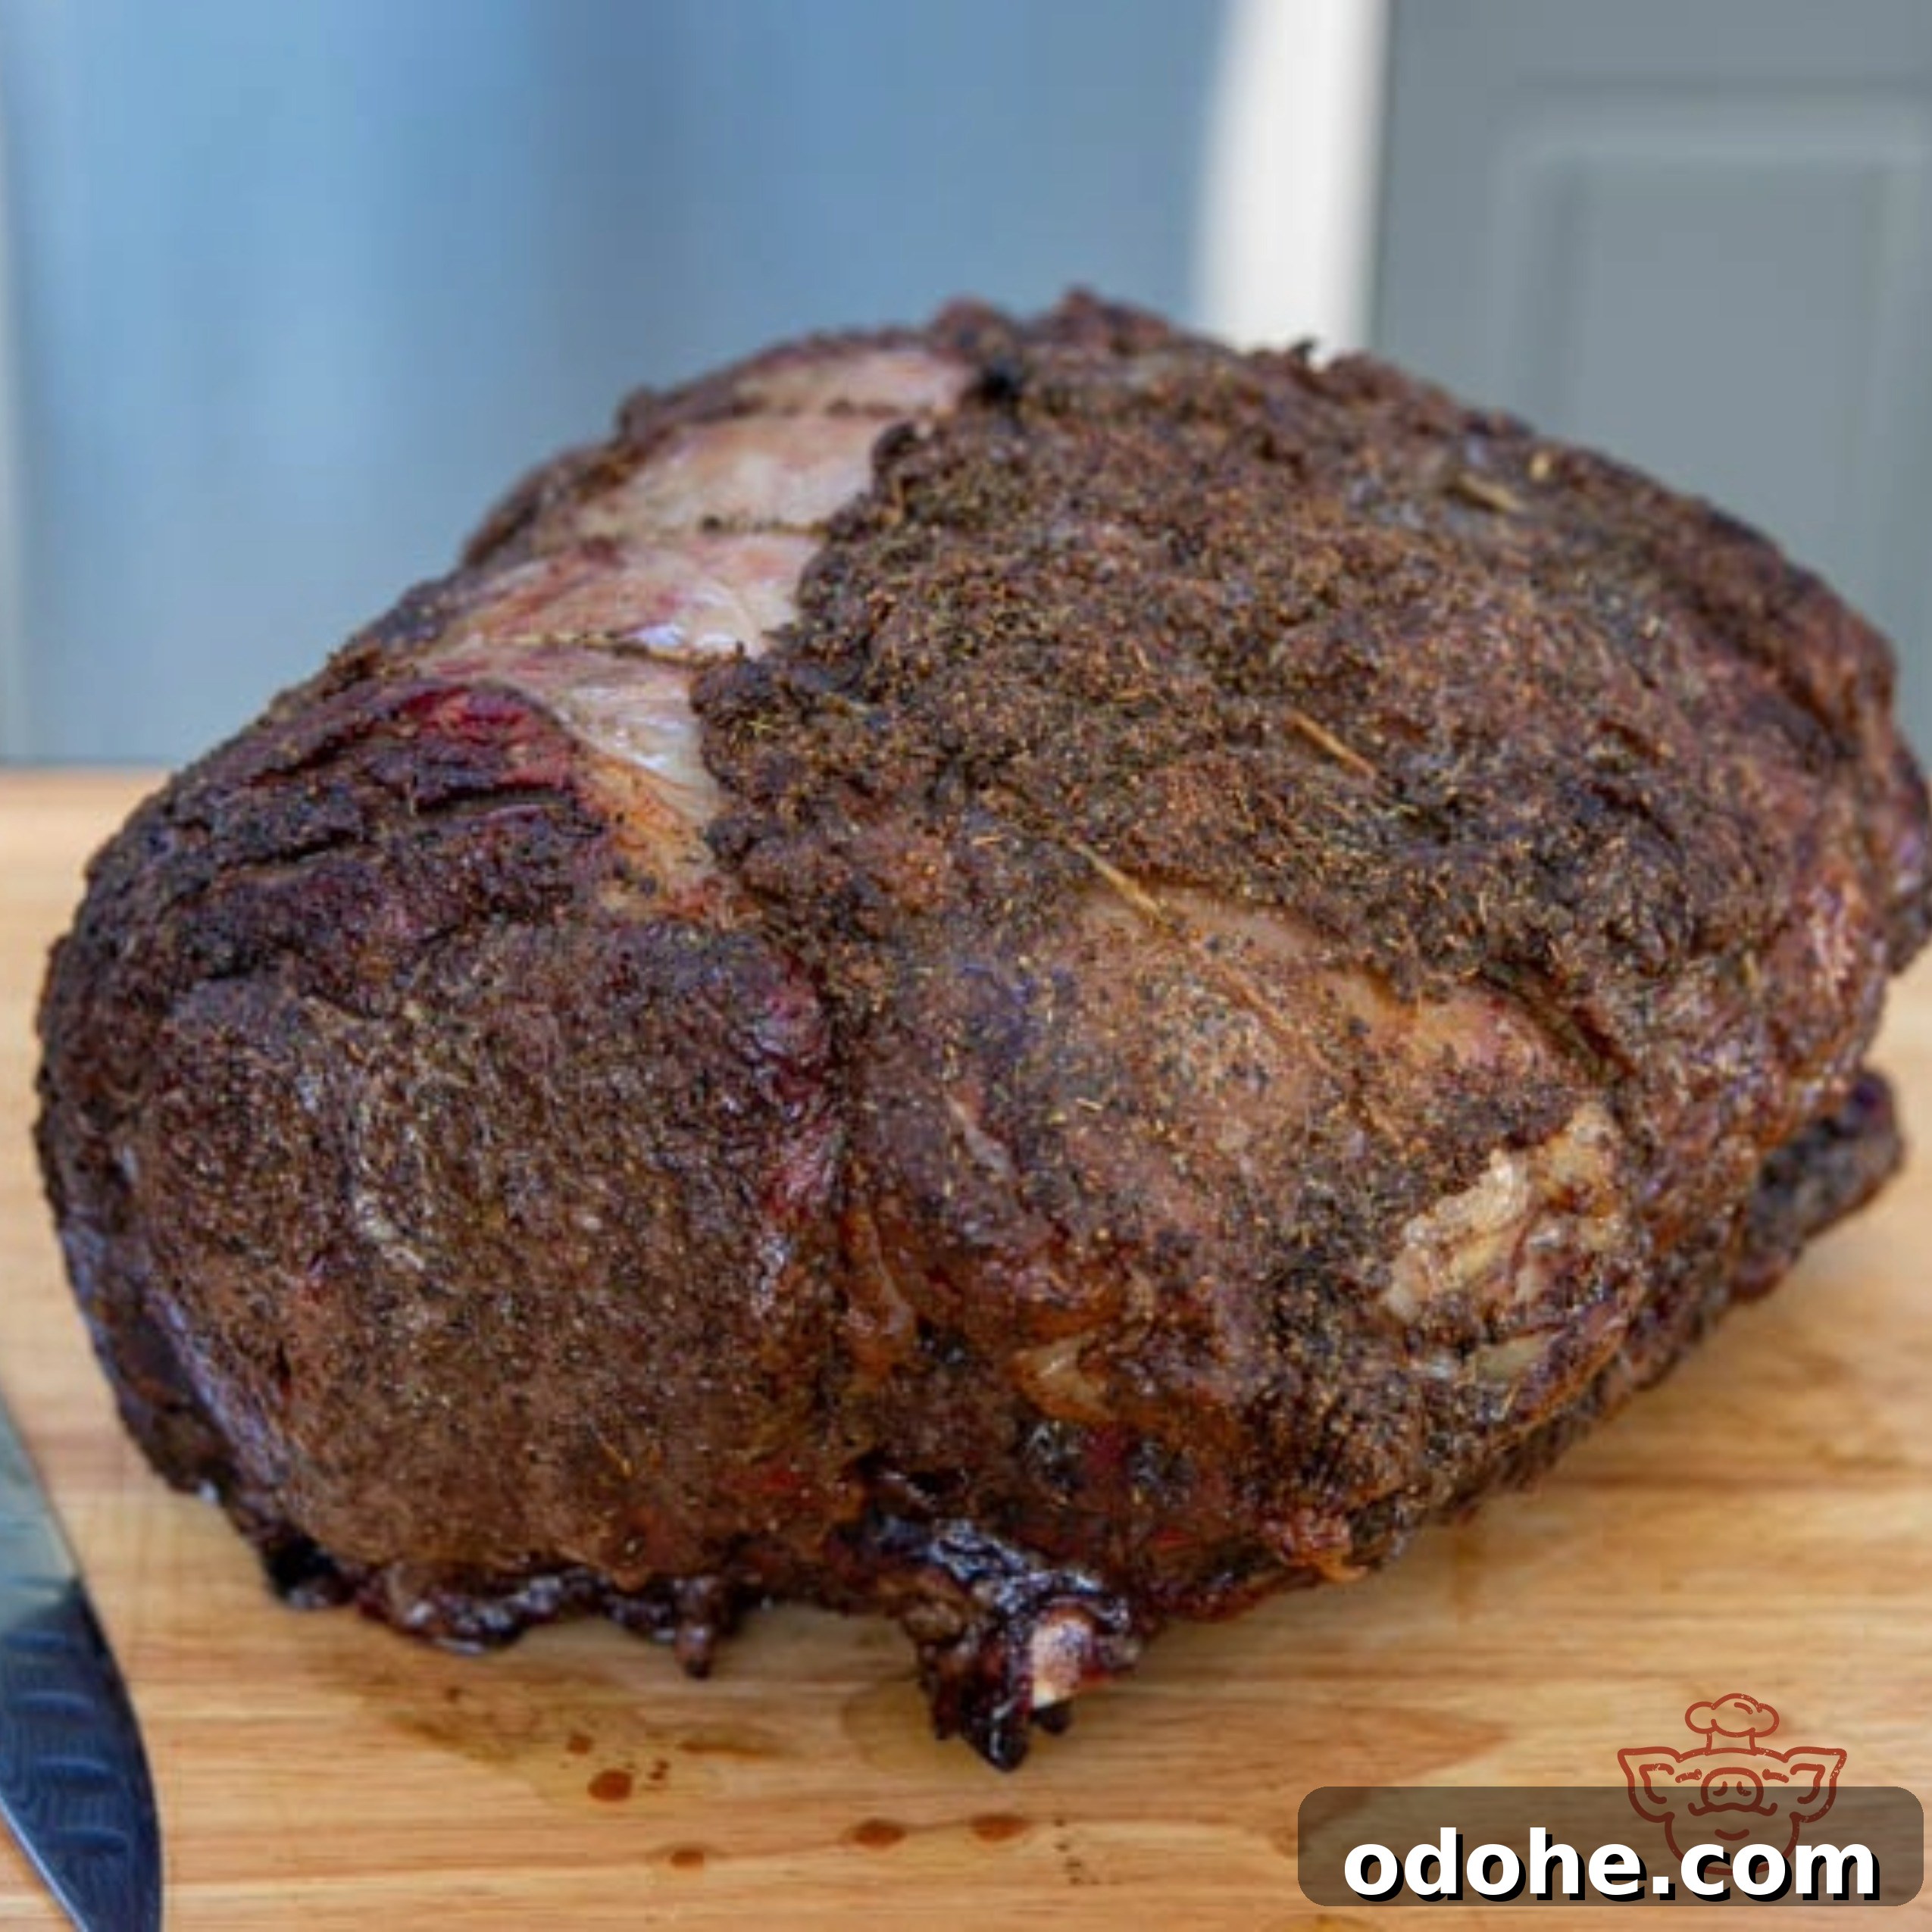
The holiday season is about gathering and sharing a memorable meal, and a standing rib roast is an iconic centerpiece. When cooked properly the aroma, texture and presentation will impress your guests. The reverse sear method is especially effective with large cuts of beef: slow-roast at low heat first, then finish with a high-heat sear for an even, edge-to-edge pink center and a deeply browned crust.
This guide keeps the process straightforward so you can focus on the celebration. Follow these steps and you’ll serve an outstanding prime rib roast from the Big Green Egg.
Step 1: Finding the Prime Rib Roast
Choosing Your Grade
Beef grade is based on intramuscular fat (marbling). For holiday roasts consider:
- Select: The leanest and most affordable, but lacks the marbling for a decadent prime rib. Not recommended for a centerpiece roast.
- Choice: The best balance for most home cooks—good flavor and tenderness at a reasonable price and widely available.
- Prime: The top grade with abundant marbling. Choose Prime for the richest texture and steakhouse-quality results.
- Wagyu: Extremely marbled and very rich. A premium option if you want a buttery, melt-in-your-mouth experience.
Where to Shop
Good sources include local butcher shops (for custom trimming and tying), warehouse clubs that often carry USDA Prime at holiday prices, and high-end grocers that may offer dry-aged options for added flavor depth.
The “Pro” Checklist
When selecting a roast, remember:
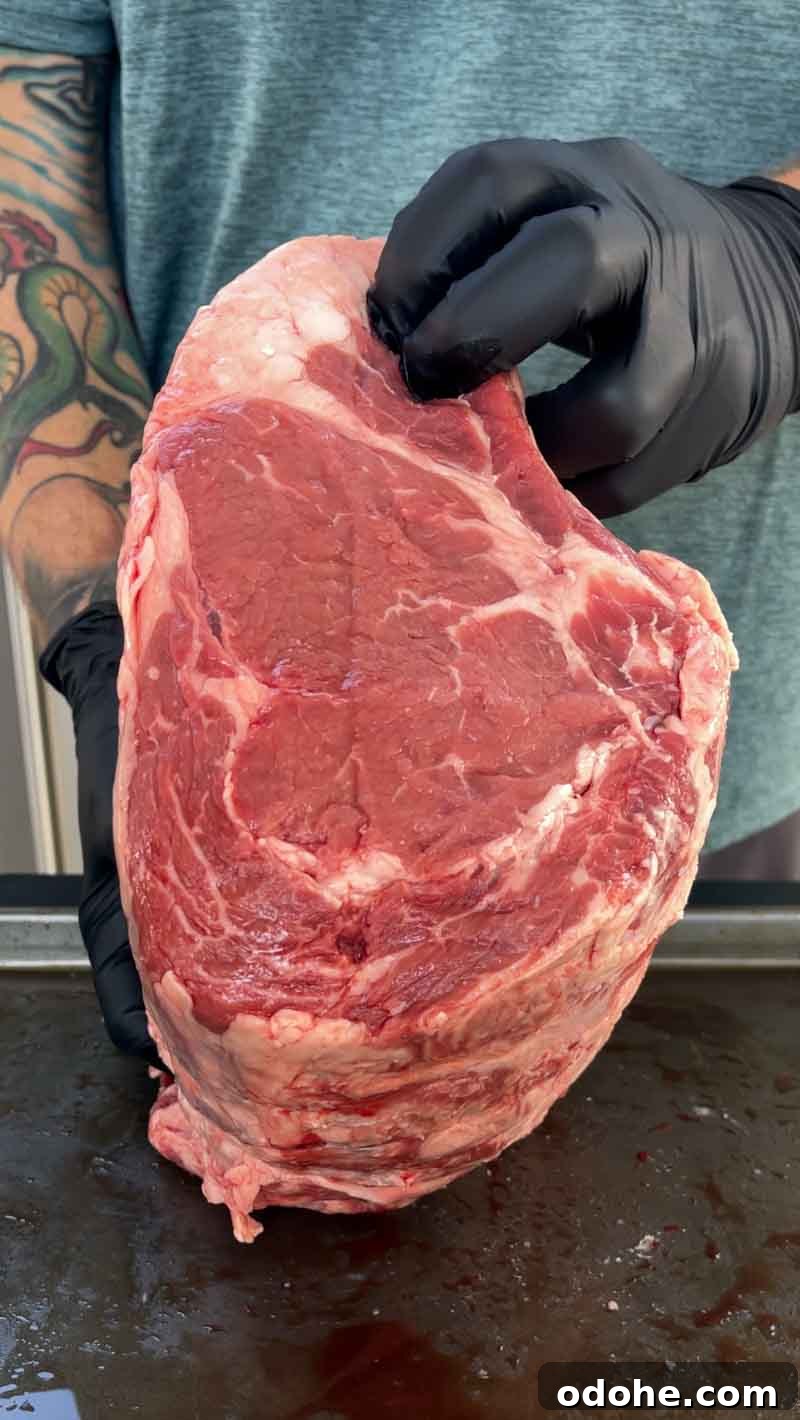
- Bone-In is Best: Ask for a standing rib roast. Bones protect the meat and contribute flavor.
- The Fat Cap: Look for at least 1/4″ of white fat on top to render into the meat during cooking.
- Size Matters: Plan approximately one rib per two people, or about one pound of bone-in meat per person.
Step 2: Temper the Prime Rib Roast
The Importance of Tempering
Remove the roast from the refrigerator at least one hour before cooking. Allowing the meat to come closer to room temperature ensures more even cooking; a very cold roast can cause the outside to overcook while the center remains underdone. Tempering is essential for achieving a uniform pink interior.
Step 3: Setting Up the Big Green Egg
While the roast tempers, prepare the Egg. A clean, stable environment is key for a long, even cook.
Fuel and Flavor
Use high-quality large-chunk lump charcoal for a long, consistent burn with minimal ash. For mild smoke that complements beef, add two or three chunks of pecan or oak. Avoid strong woods like hickory or mesquite that can overpower the beef during a long roast.
The Indirect Environment
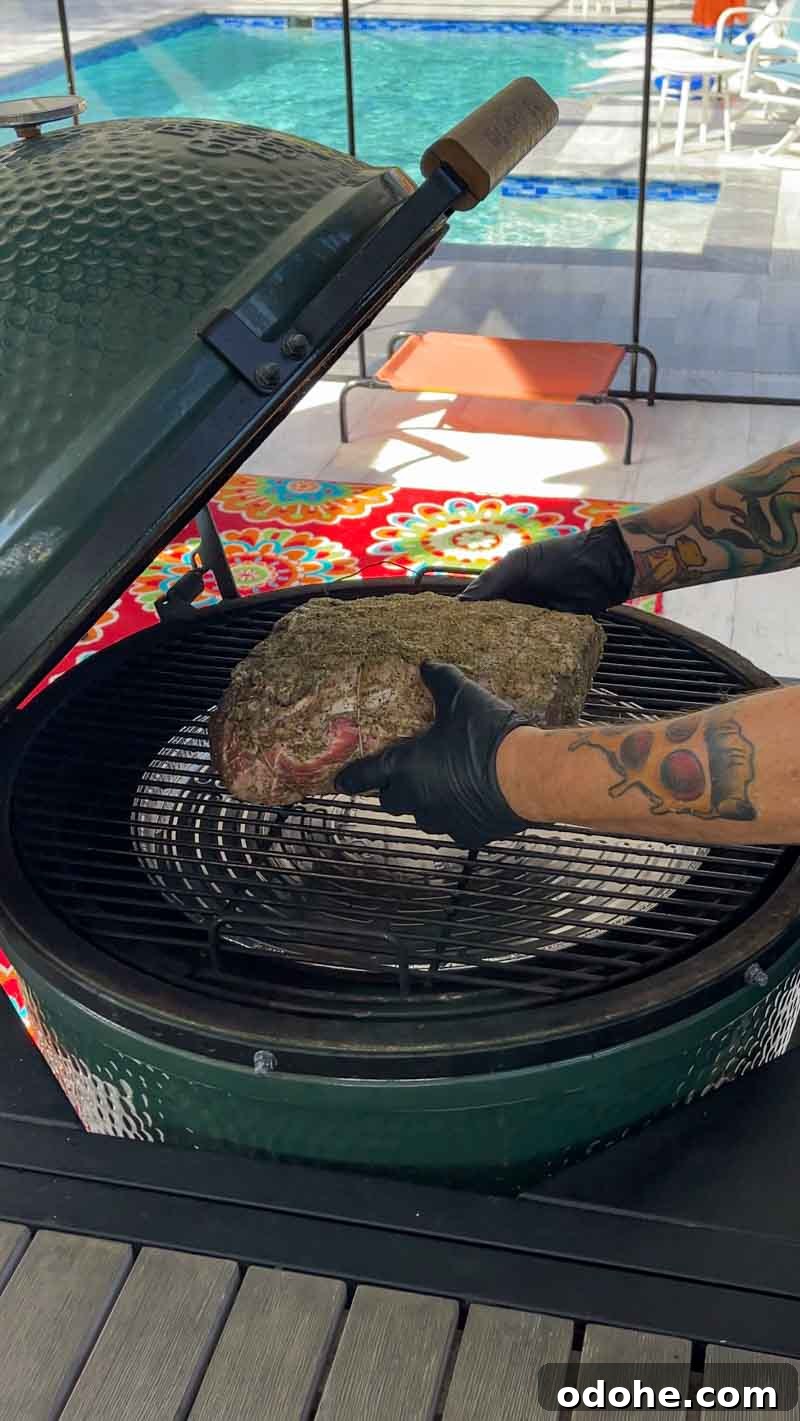
Use the ConvEGGtor (heat deflector) to create indirect heat. Place the ConvEGGtor with the legs up and set the cooking grate on top. This setup promotes convection, circulating heat evenly around the roast so it cooks uniformly without scorching the bottom.
Managing the Temperature
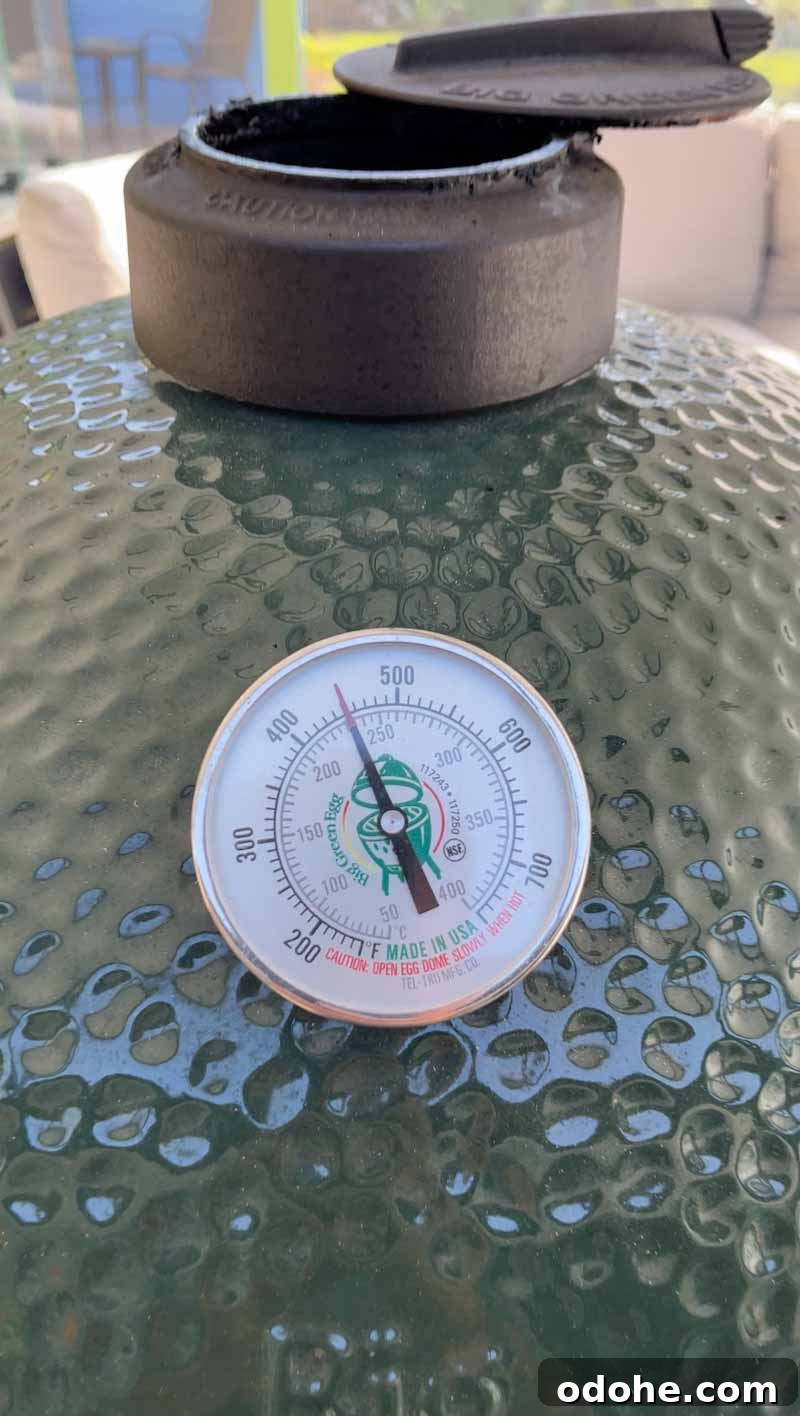
Preheat the Egg and stabilize at 250°F. This temperature allows fat to render slowly while moving the cook at a reliable pace. Once the dome thermometer reads 250°F, wait 15–20 minutes for the ceramic to fully heat-soak so the temperature won’t drop when you open the dome.
Quick Prep Checklist
- Stabilize the Temp: Hold 250°F for at least 20 minutes before adding the roast.
- Clean the Grates: Make sure the cooking surface is clean so the roast picks up only natural beef flavor and a light kiss of smoke.
Step 4: Prep the Prime Rib Roast
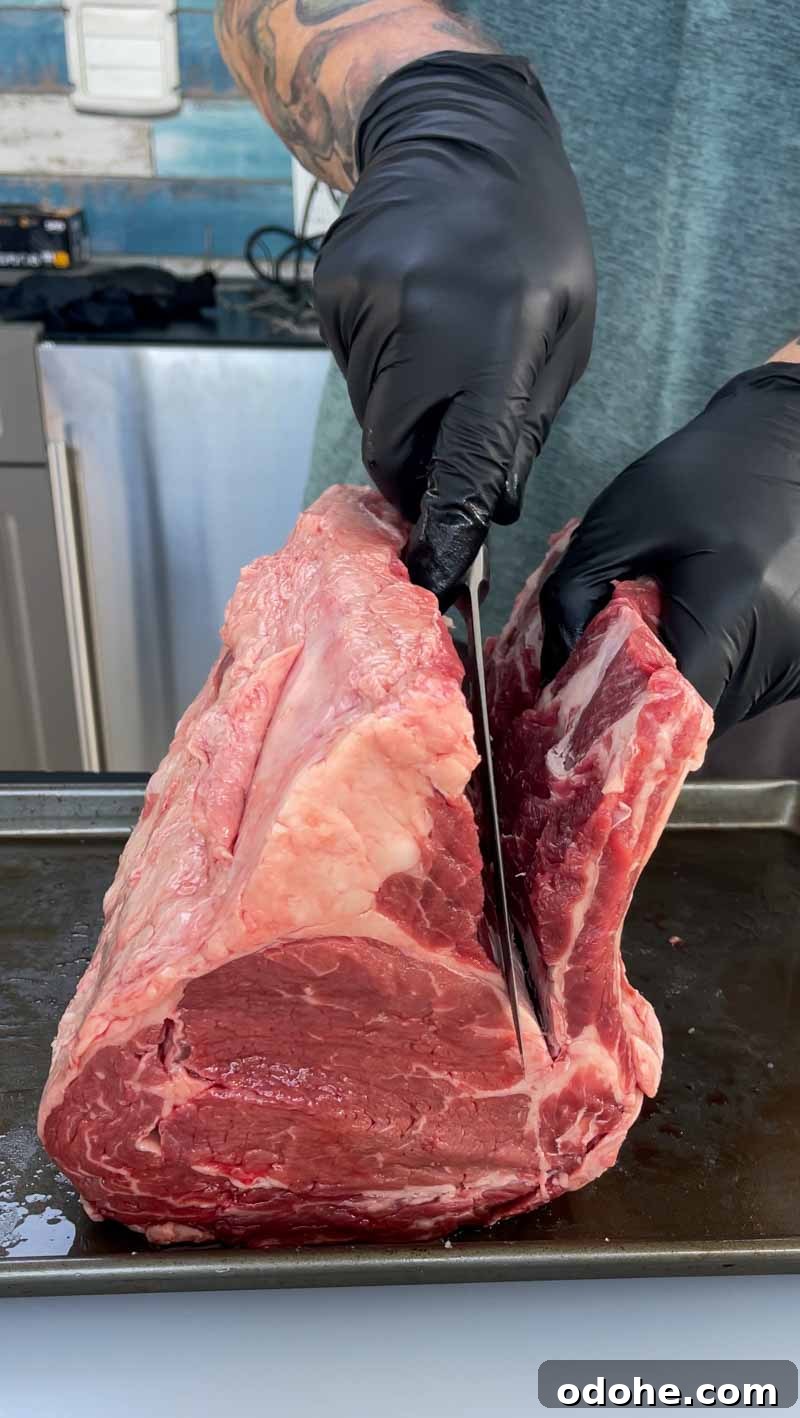
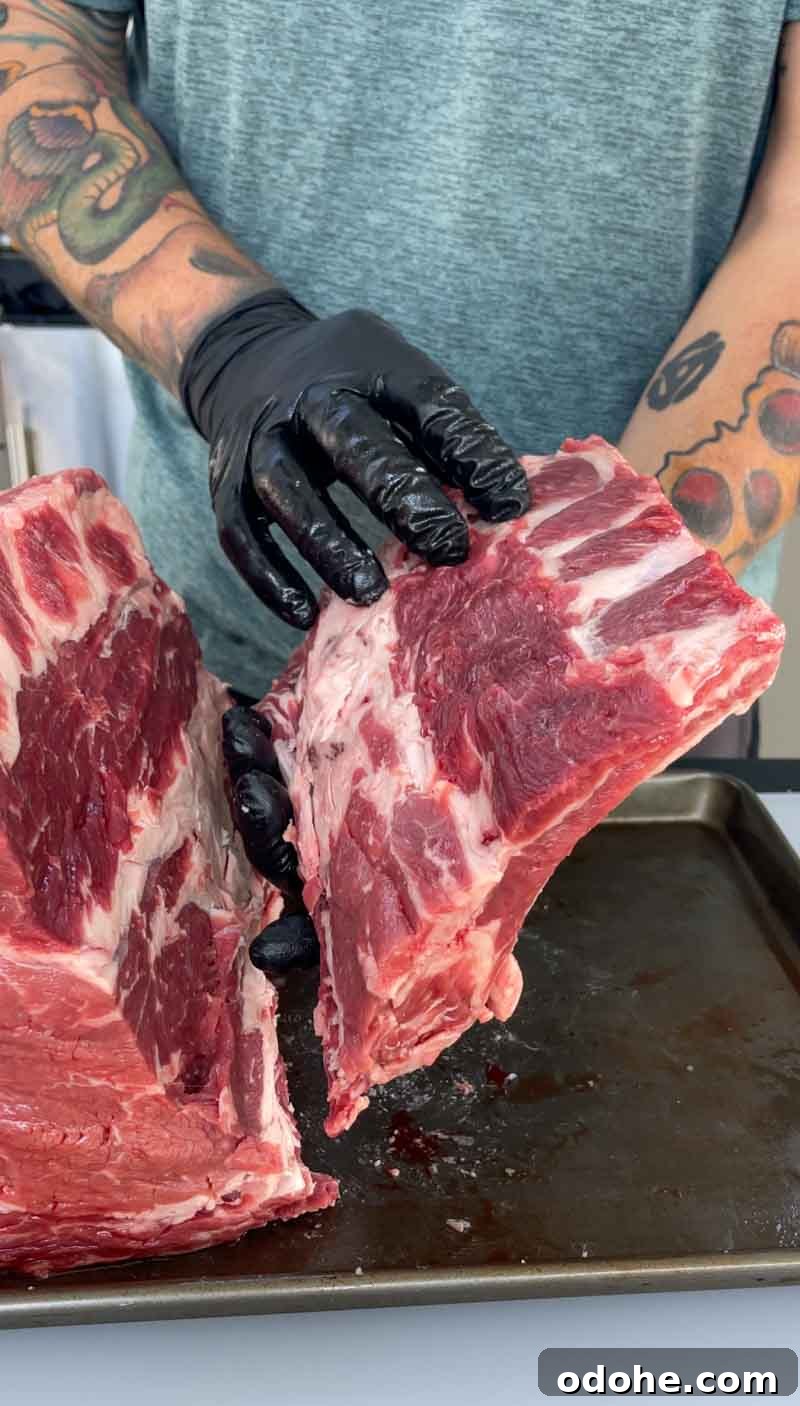
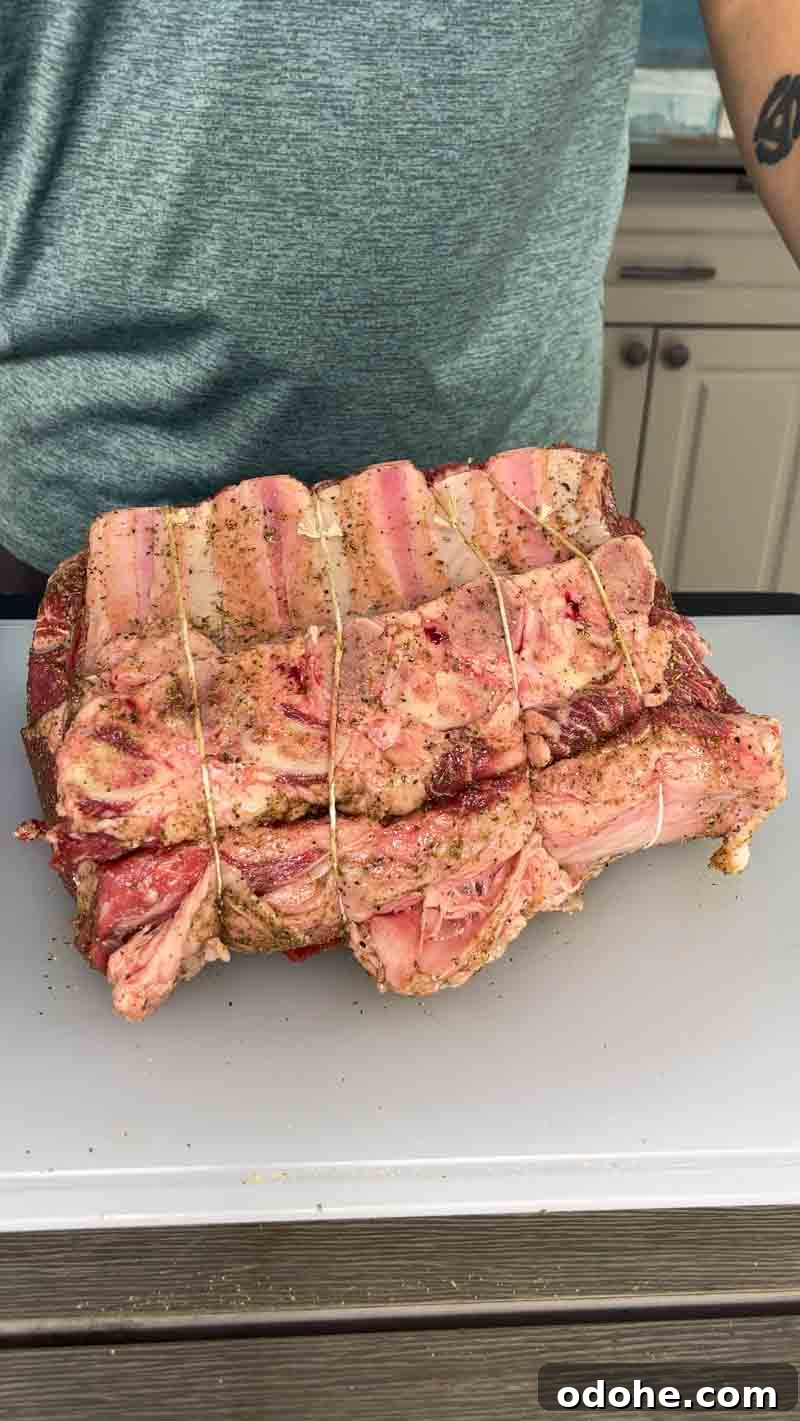
Use the “cut and tie” method: remove the bone section by slicing along the bone line, taking care to preserve the spinalis dorsi (the rib eye cap). This produces two benefits: it allows you to season the underside and inside of the bones for greater flavor, and it makes carving easier because you can tie the roast back into a uniform shape and snip the twine before serving.
Step 5: Season the Prime Rib Roast
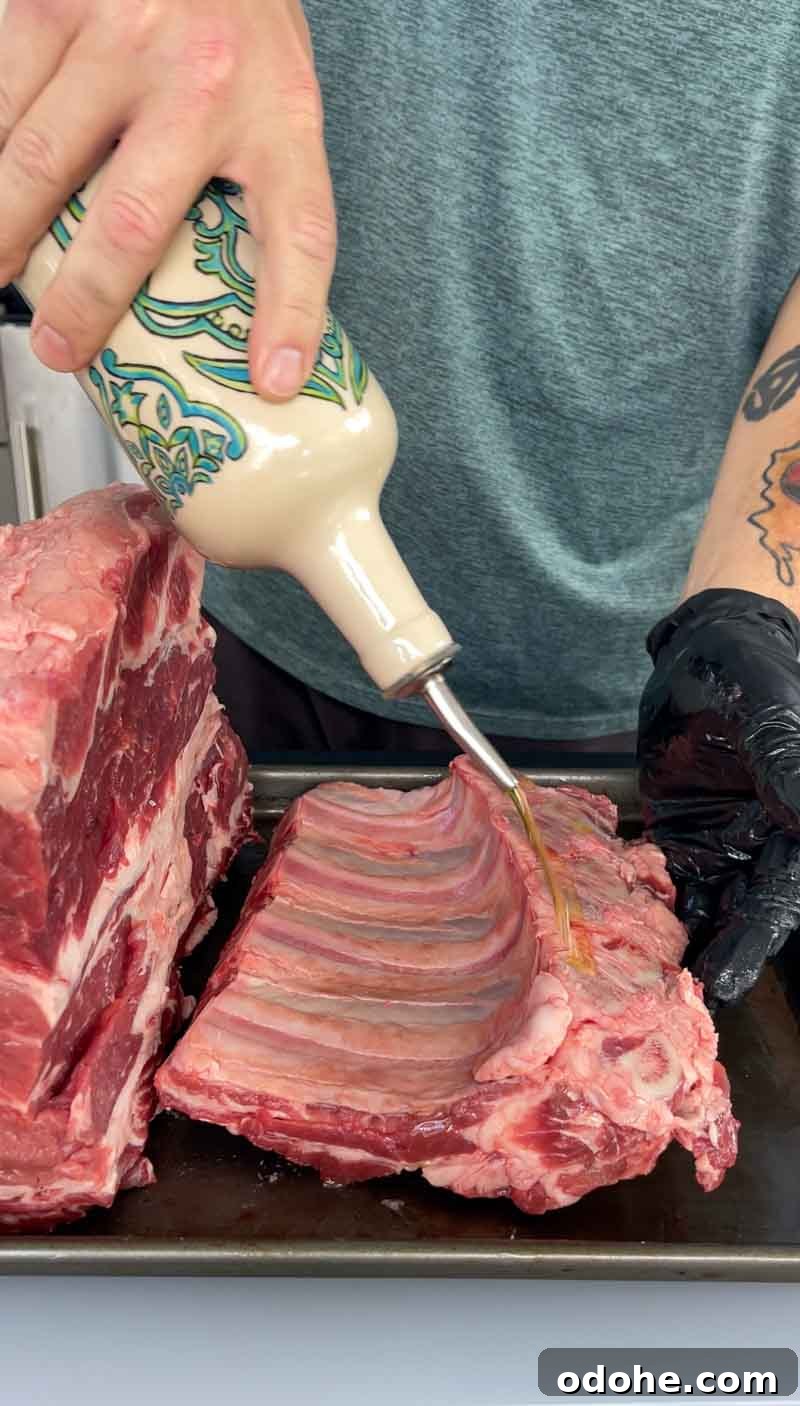
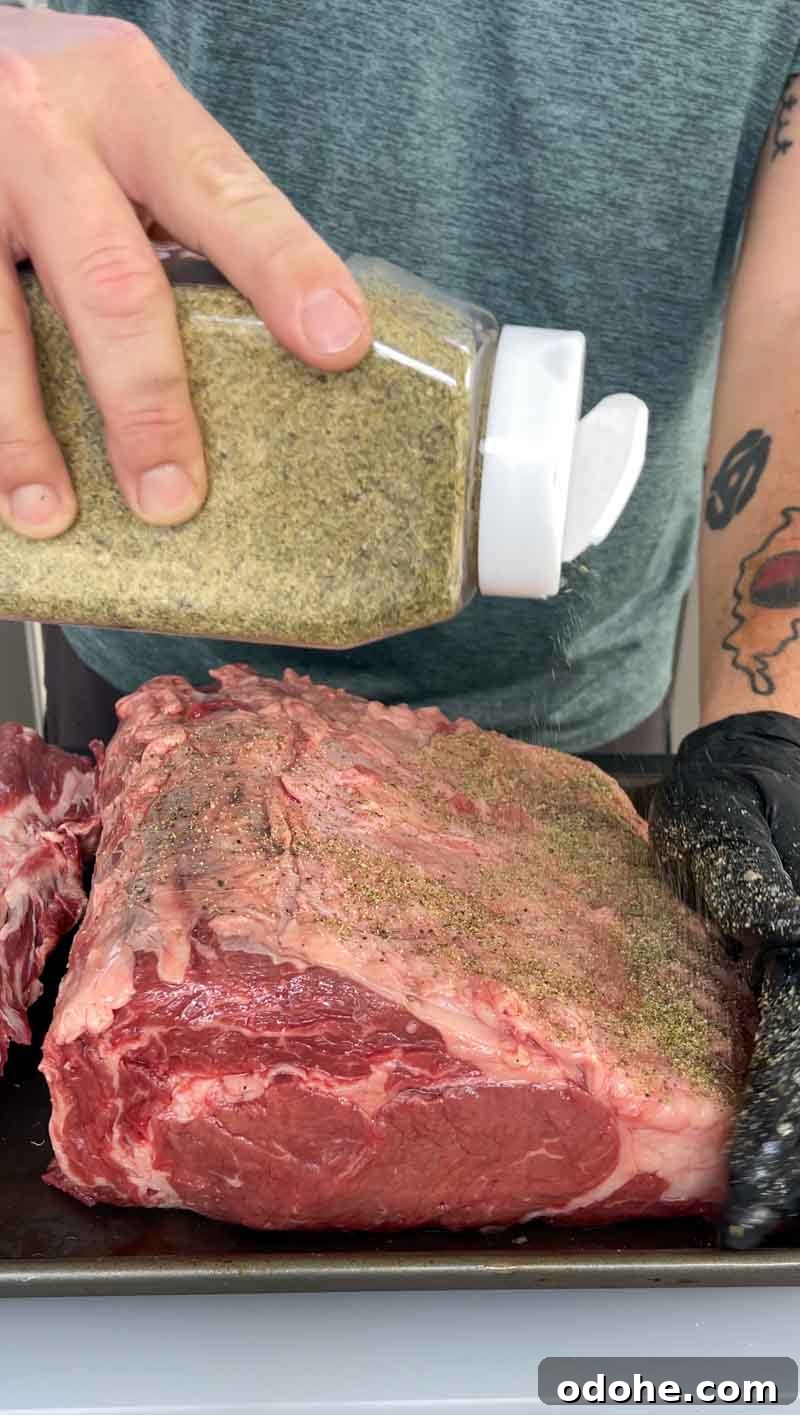
Coat the meat and bone sections lightly with olive oil to help the seasoning adhere. Season generously—prime rib is dense and needs ample exterior seasoning to balance the rich interior. A simple salt, pepper and garlic rub works beautifully. If you prefer a DIY blend, try:
- 2 parts kosher salt
- 2 parts coarse black pepper
- 1 part granulated garlic
- 1/2 part dried thyme or rosemary
Be generous with the rub so every slice has a flavorful crust.
Step 6: Tying the Prime Rib Roast
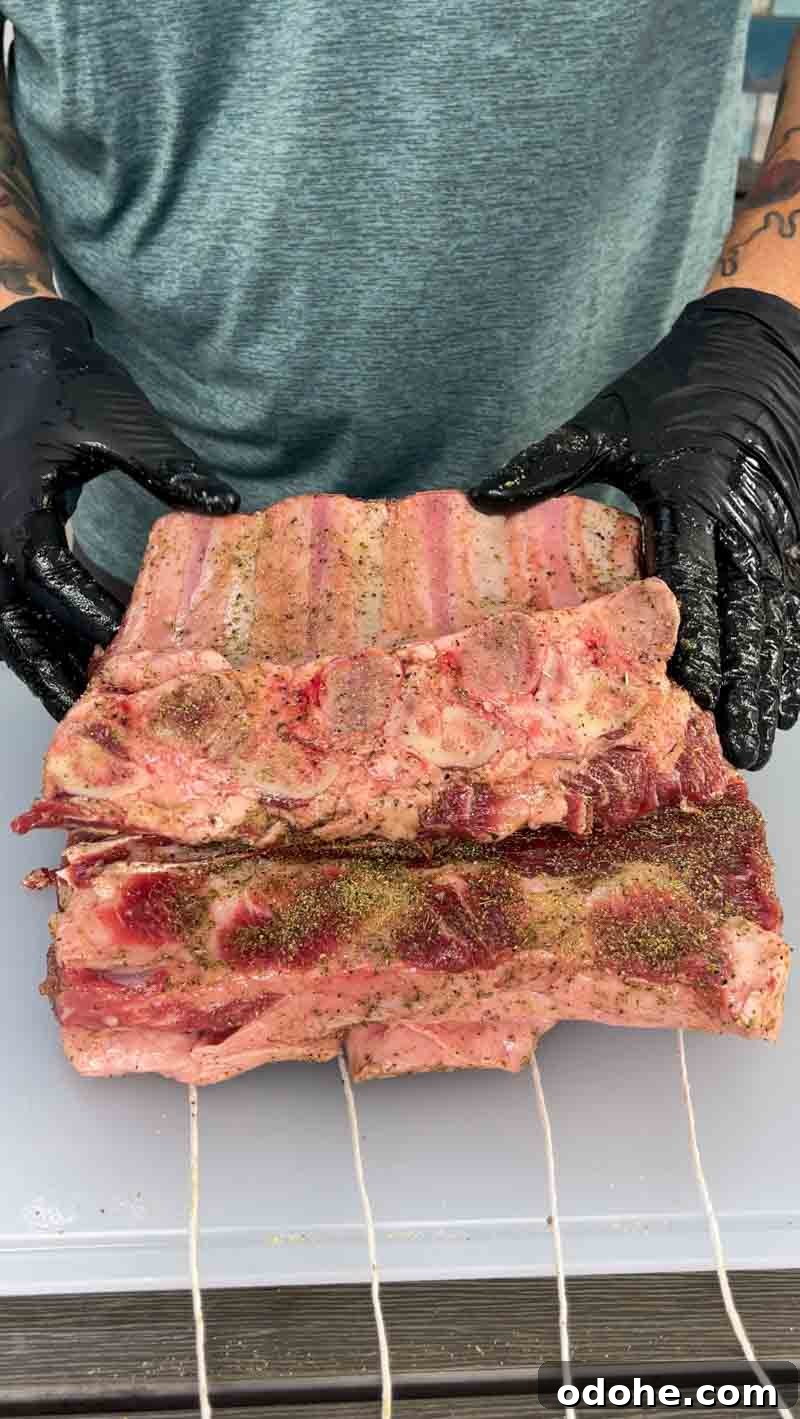
Place the rib section back in position and secure it with butcher’s twine to form a uniform cylinder. Tying protects the bottom of the meat from direct heat, keeps the roast’s shape as it cooks, and helps the meat cook evenly. As the fat between the meat and bones renders, it will baste the roast from the inside, adding depth and moisture.
Step 7: Cooking the Prime Rib Roast
With the Egg stabilized at 250°F and the roast tied and seasoned, place the prime rib on the center of the grate over the ConvEGGtor. Close the dome and roast indirectly for the initial low-and-slow phase, which typically takes 3–4 hours depending on size and thickness.
The Path to 120°F
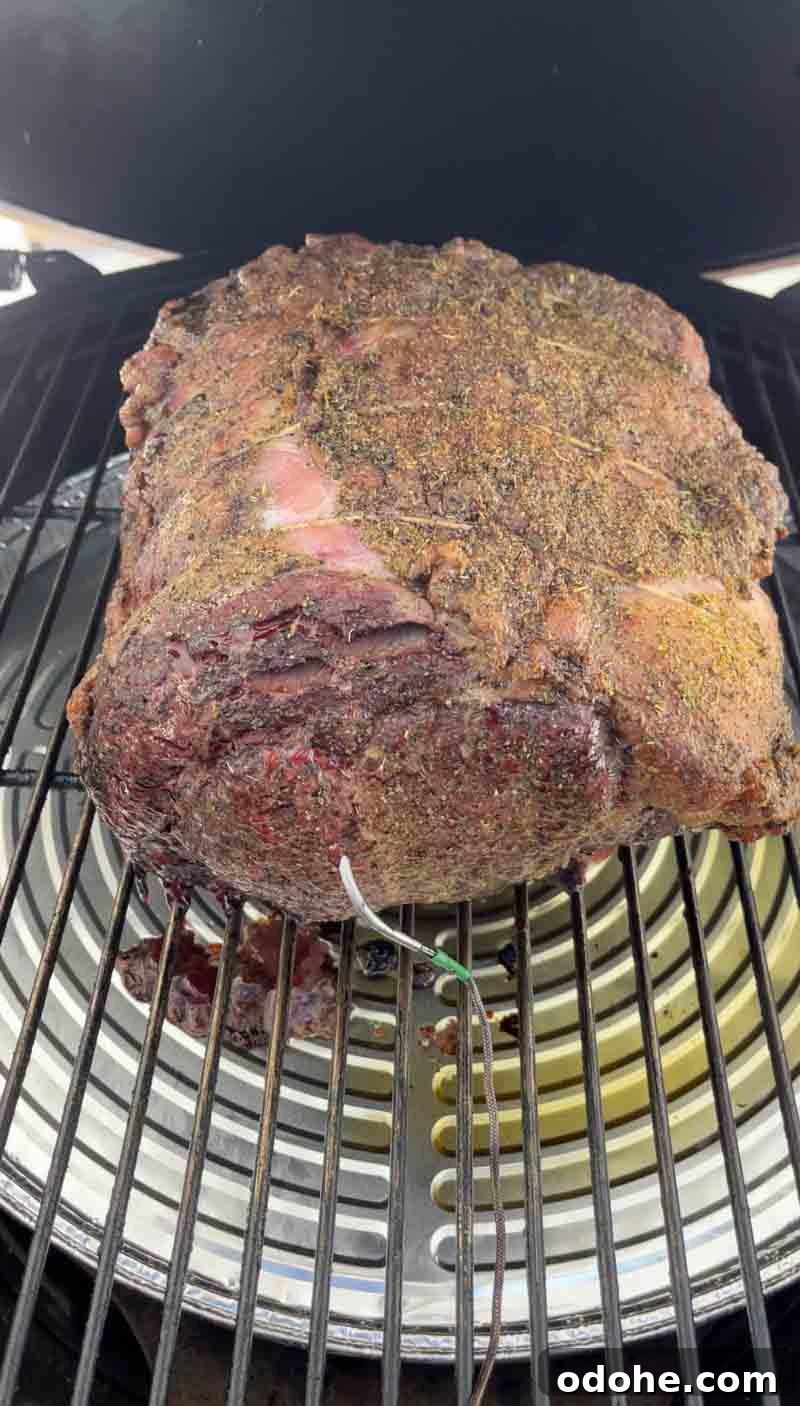
Slow roast until the internal temperature reaches 120°F. This is the pull temperature for the first phase and gives you room to finish with a high-heat sear without overshooting medium-rare. During this period the meat’s color will darken and the fat cap will begin to soften and glisten as it renders.
Monitoring the Cook
Use a reliable leave-in probe or handheld thermometer to monitor the internal temperature. Keep the dome closed as much as possible—each opening releases heat and moisture that the ceramic has worked to build. When the probe reads 120°F, the roast is ready for the sear phase.
Size and Cook Times
These estimates assume a steady 250°F during the low-and-slow phase. Thickness often impacts cook time more than total weight: a long, thin 3-bone roast cooks faster than a short, thick one.
Prime Rib Cook Time Estimates
| Number of Ribs | Approximate Weight | Estimated Cook Time (to 120°F) | Serves (Approx.) |
| 2 Ribs | 4 – 5 lbs | 2.0 – 2.5 hours | 4 People |
| 3 Ribs | 6 – 8 lbs | 3.0 – 3.5 hours | 6 People |
| 4 Ribs | 9 – 11 lbs | 3.5 – 4.5 hours | 8 People |
| 5 Ribs | 12 – 14 lbs | 4.5 – 5.5 hours | 10 People |
| Full Rack (7) | 15 – 18 lbs | 6.0 – 7.0 hours | 14+ People |
Variables to Watch
- Carry-Over: Larger roasts continue to rise in temperature after removal from heat due to thermal mass.
- Starting Temp: If you skip tempering, add 30–45 minutes to the estimates.
- Egg Load: Cooking multiple roasts can restrict airflow and extend cook time.
The Golden Rule: Use time estimates for planning, but always cook to internal temperature, not the clock. A digital probe thermometer removes guesswork.
Step 8: Sear the Prime Rib Roast
When the roast reaches 120°F, remove it from the Egg and rest briefly while you prepare the grill for a high-heat finish. There are two effective finishing methods:
Option 1: Indirect High-Heat Finish (Recommended)
Keep the ConvEGGtor in place, open the vents fully, and bring the Egg to about 450°F. This creates a high-powered convection finish that yields an even, mahogany crust with less risk of flare-ups from rendered fat.
Option 2: Direct Sear Finish
For a more aggressive char, remove the ConvEGGtor (carefully, with heat-resistant gloves), open vents and let the Egg reach 450°F. Place the roast over the coals and rotate frequently to develop a grilled crust. Watch for flare-ups and manage the roast closely.
The Final Goal
Sear until the exterior is deeply browned and the internal temperature reads 130°F–135°F for perfect medium-rare. Expect the sear to take 6–10 minutes depending on method and roast size.
Step 9: The Homestretch
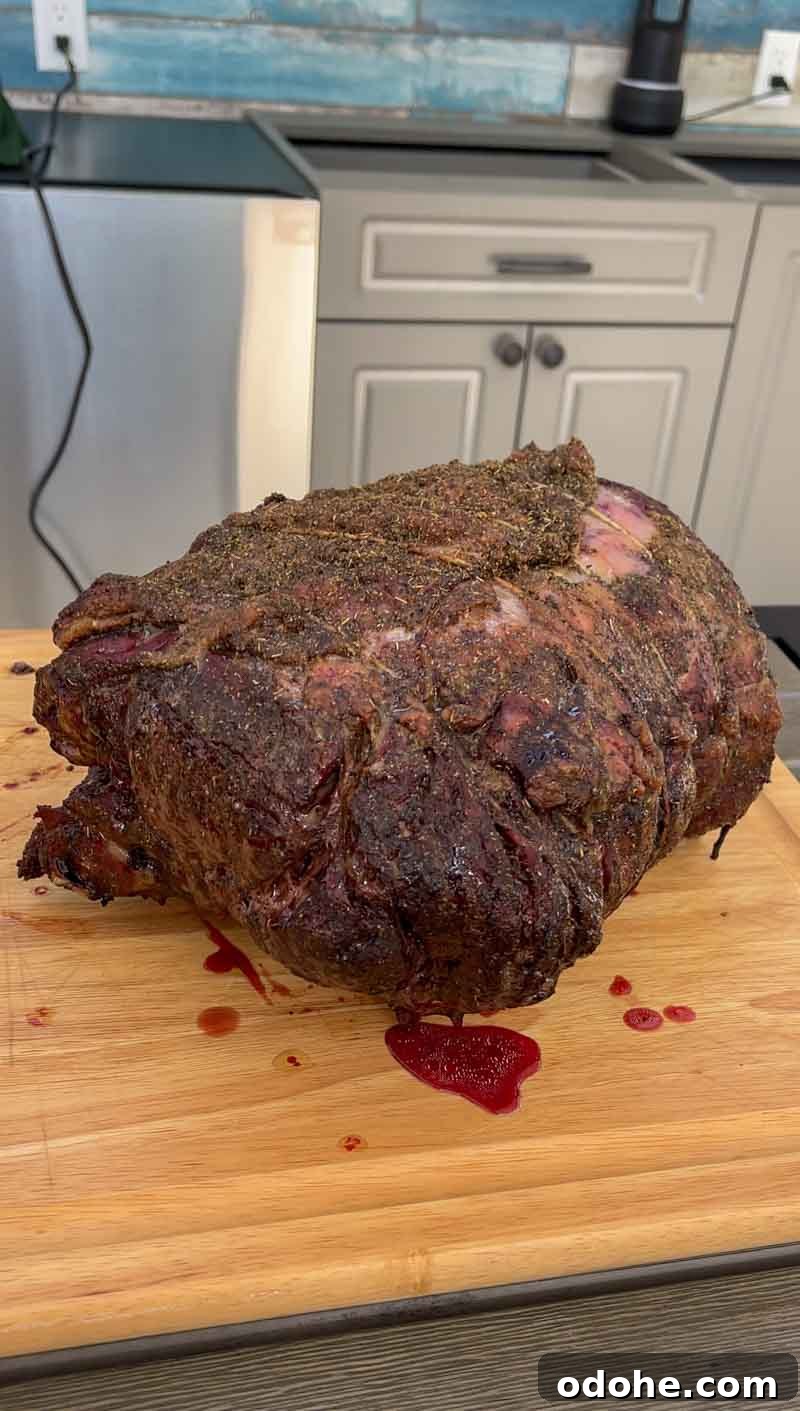
Return the roast to the grate at 450°F for the final 6–10 minutes. The high heat creates the Maillard reaction quickly because the meat’s surface is already dry from the low-and-slow phase. Look for a dark, lacquered crust and monitor the internal temperature closely.
Monitoring for Perfection
- Start checking at the 6-minute mark; the temperature will climb faster during this stage.
- Expect about a 5°F carry-over after you remove the roast—pull the roast slightly below your final target if you prefer a precise finish.
Step 10: Rest, Slice and Serve the Prime Rib Roast
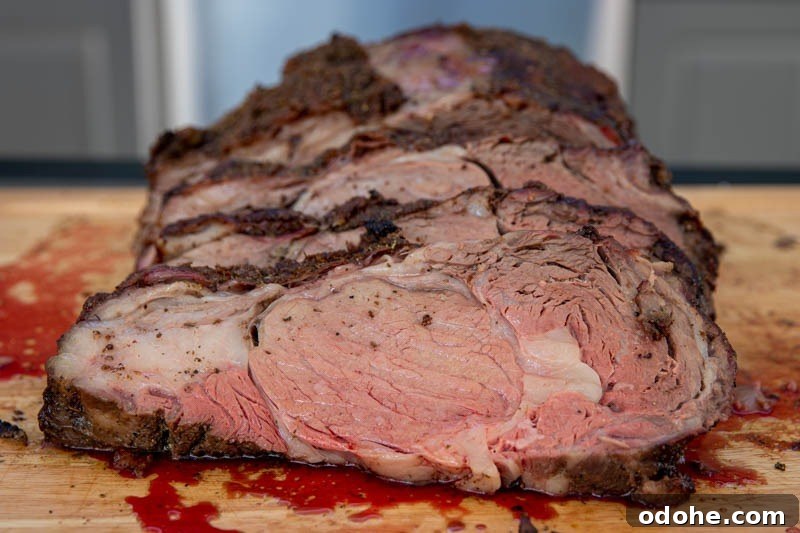
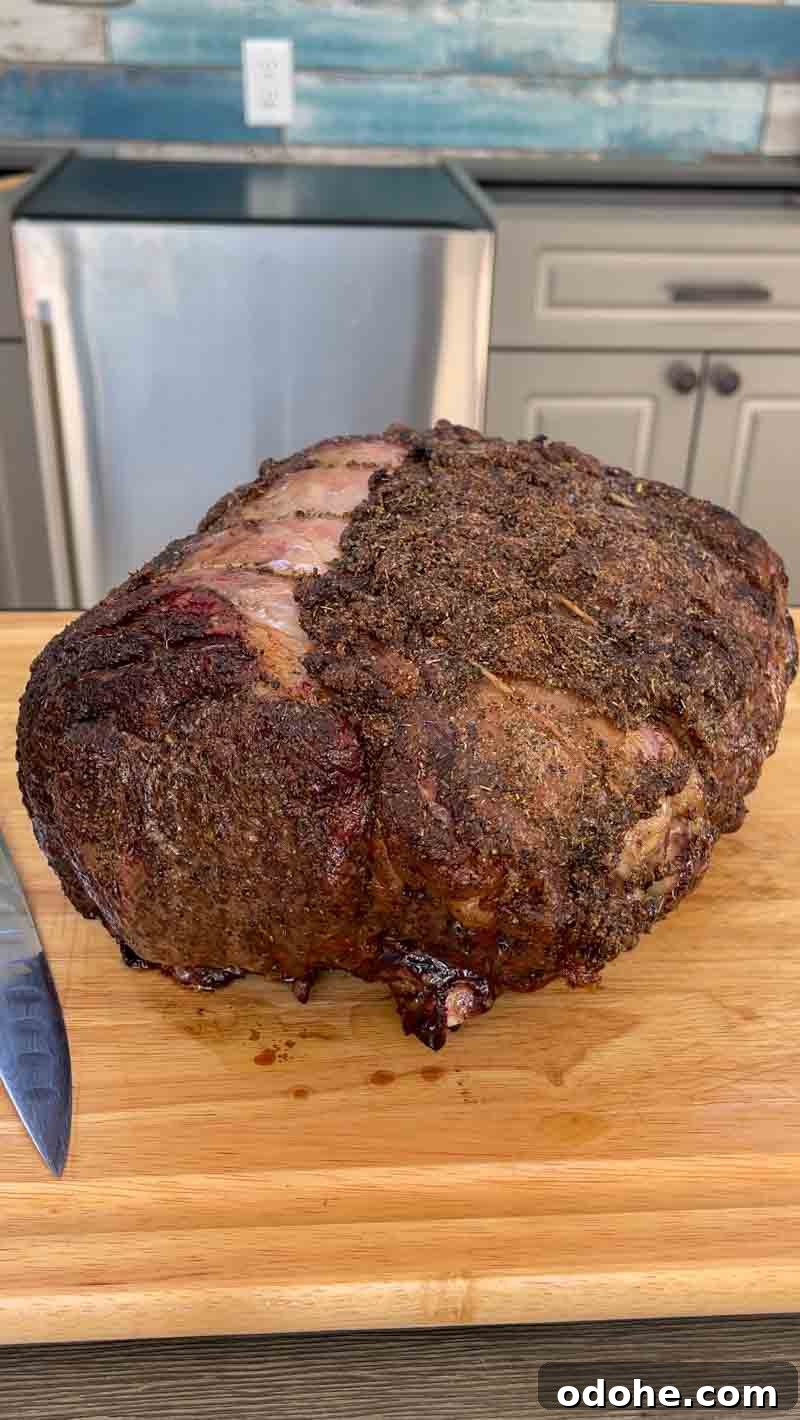
After the final sear and once you’ve reached the target temperature and crust color, remove the roast and rest it for 20–30 minutes. Resting lets the tightened muscle fibers relax and reabsorb juices so your slices stay moist. A roast this size will remain hot during the rest because of its thermal mass.
The Carving Reveal
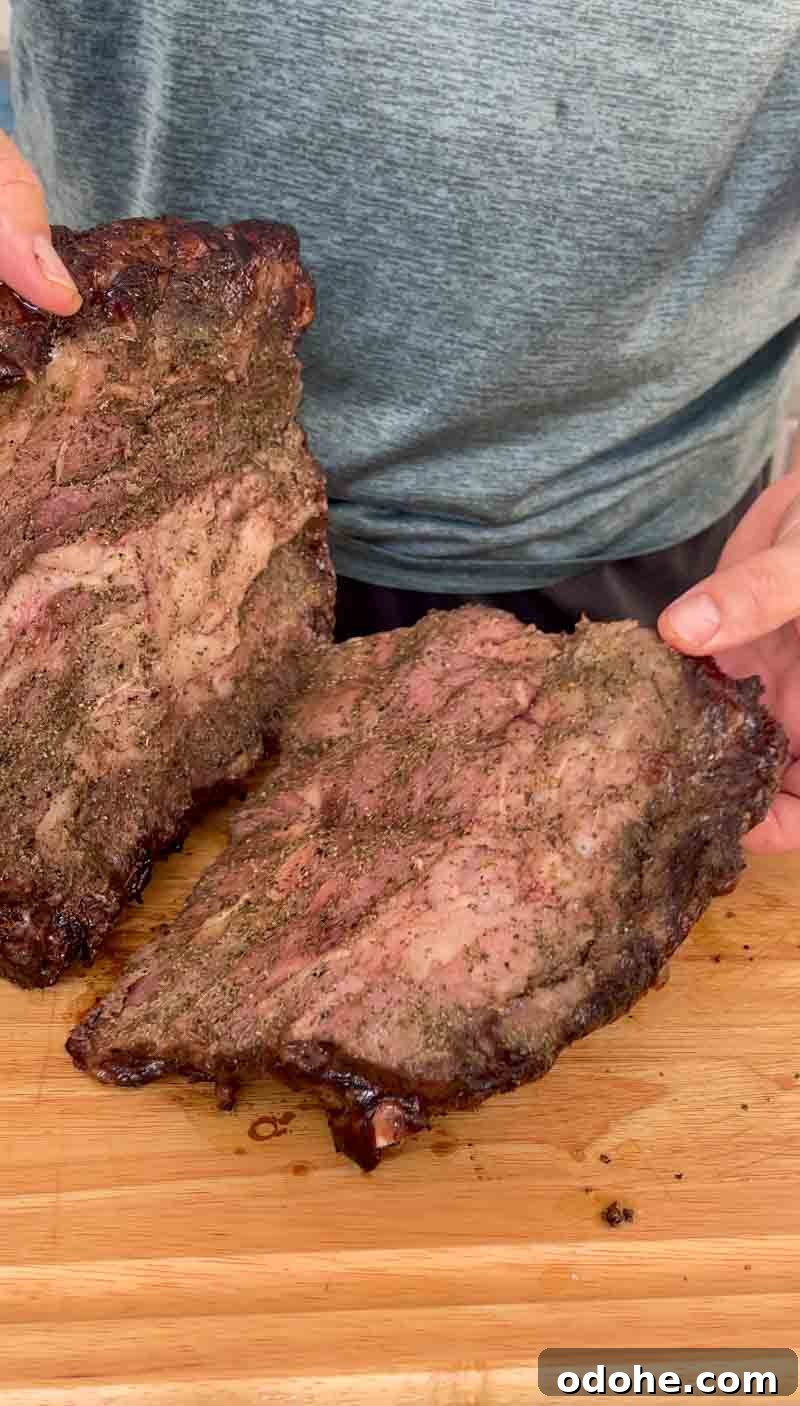
Use kitchen shears to cut the butcher’s twine and remove the rib rack. You can slice between bones for “Texas lollipops” or remove the bones entirely and carve the boneless cylinder to your preferred thickness. Expect coast-to-coast pink meat with a thin, savory crust and a uniform medium-rare center.
Serve with horseradish cream, a simple pan jus or a red wine reduction. The reverse sear on the Big Green Egg yields a roast that’s both visually impressive and superb in flavor.
Pitmaster’s Perk
While the roast rests, you get the best bite: the meat between the bones. These pieces are seasoned on both sides and soaked in rendered fat, making them especially flavorful—consider it a well-deserved reward for managing the cook.
Big Green Egg Reverse Seared Prime Rib
Ingredients
- 12.4 lb 4-bone prime rib roast
- 2 Tbsp olive oil
- Generous amount of salt, coarse black pepper and granulated garlic, or your preferred rub
Instructions
- Preheat the Big Green Egg to 250°F and set up for indirect grilling with the ConvEGGtor in place.
- Remove the bone section by following the bone line. Preserve the spinalis cap when possible.
- Brush meat and rib sections with olive oil and season liberally inside and out.
- Reposition the ribs and tie the roast with butcher’s twine to form a uniform cylinder.
- Place the roast in the Egg and cook 3–4 hours or until internal temperature reaches 120°F.
- Remove the roast and rest briefly while raising the Egg to 450°F.
- Return the roast and sear 6–10 minutes until the exterior is deeply browned and the internal temperature reaches 130°F–135°F.
- Remove, rest 20–30 minutes, snip the twine, carve and serve.
Nutrition information is approximate and will vary based on cut and portion size.